
to this blog to receive future updates!
Hello, Happy Coders!
In this post, I'm going to be showing you how to create a custom comment section that you can use in any application or blog. This will be a full stack application that uses Create React App and TailwindCSS on the frontend and Firebase on the backend.
We will also use the Google Auth Provider from Firebase to set up authentication.
The source code for this project can be found here.
Let's get started.
Open PowerShell or the Command Prompt and navigate to the location where you would like to store your project. Run the following code.
npx create-react-app comment-sectionNow type cd comment-section and then code . making sure to include the dot at the end.
This will load VSCode with a React framework pre-installed.
Open a new terminal inside VSCode and install TailwindCSS by typing npm install tailwindcss postcss autoprefixer and then press enter.
Then type npx tailwindcss init and press enter.
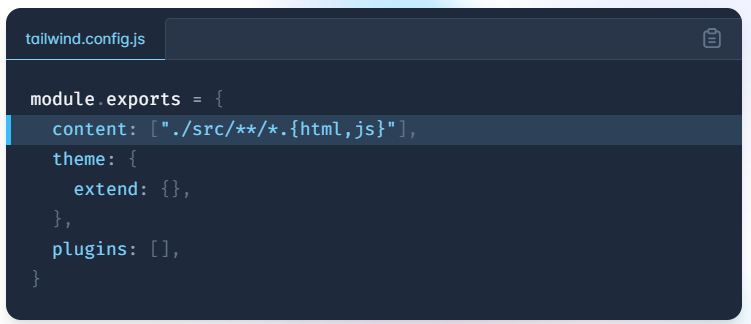
Open the tailwind.config.js file and add the following code to the file.
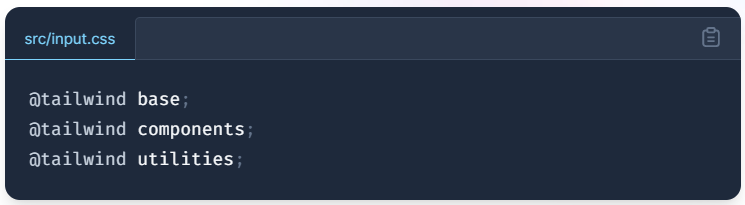
Now go to your index.css file and add the following code.
We are now set up to use TailwindCSS classes for our styling in the app.
Now we can do some file cleanup, deleting the files we don't need and adding the ones we do. The following screenshot shows what you're filetree should look like. Don't worry about the contents of each file for now. We will go through them one by one.

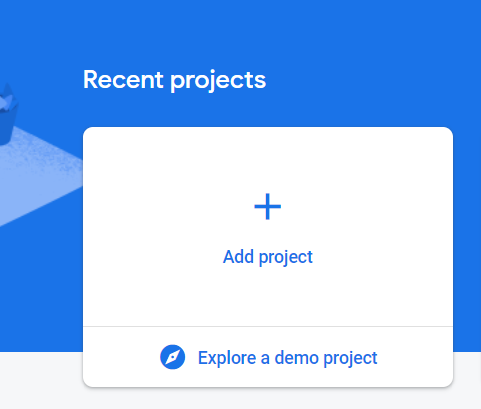
Now that we have the basic file structure of our application in place, we will start by configuring Firebase to run on the backend. Let's go to the Firebase console and create a new project.
Click Add project.
Enter a name for your project and click Continue.

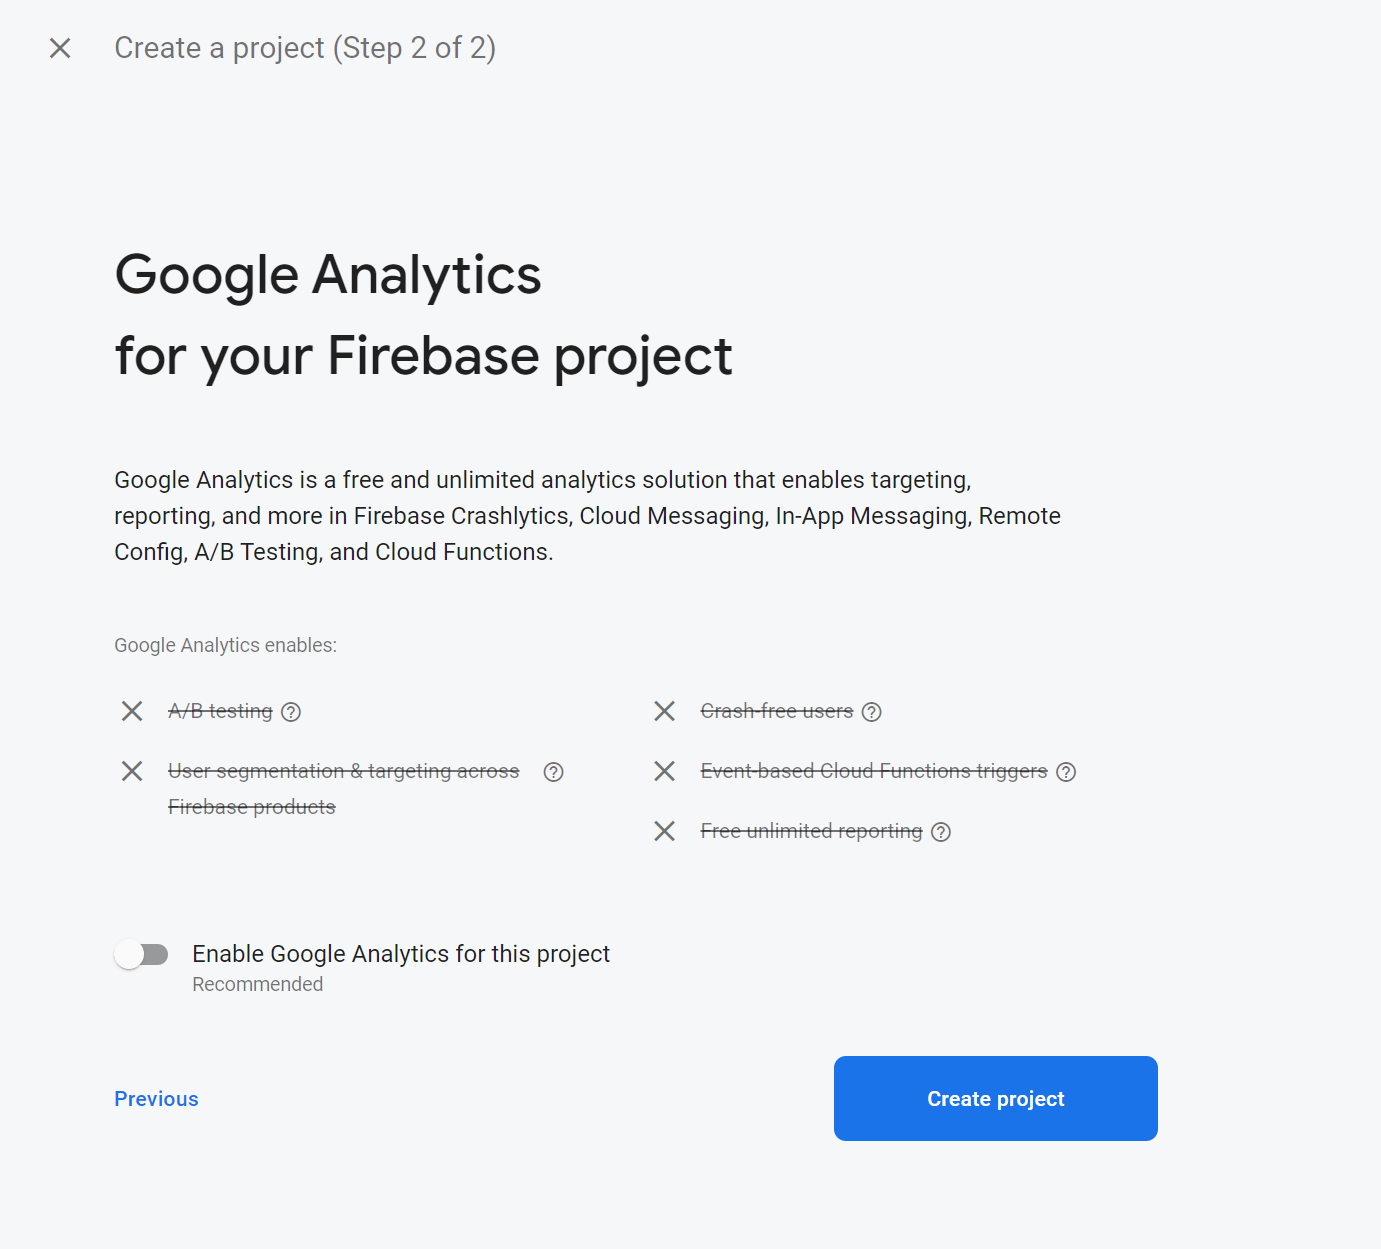
On the next screen you can decide whether or not you want to enable Google Analytics. I'm choosing to disable it. Then click Create Project.
This will take a few moments. In the meantime, go back to your terminal in VSCode and run npm install firebase to install the dependency.
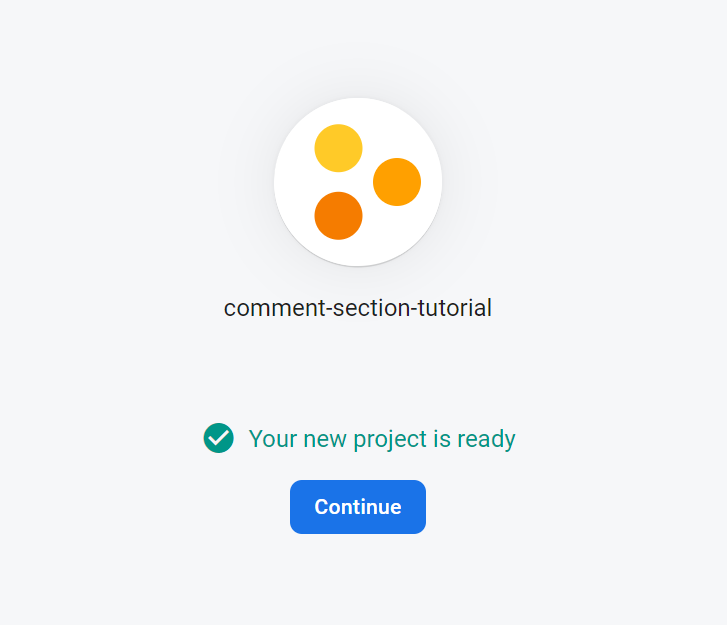
Once your project is ready, click Continue.
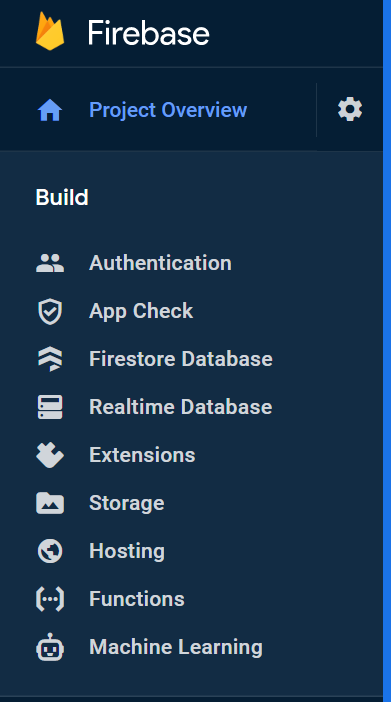
On the next screen select Authentication under the Build menu. It should be the top option.
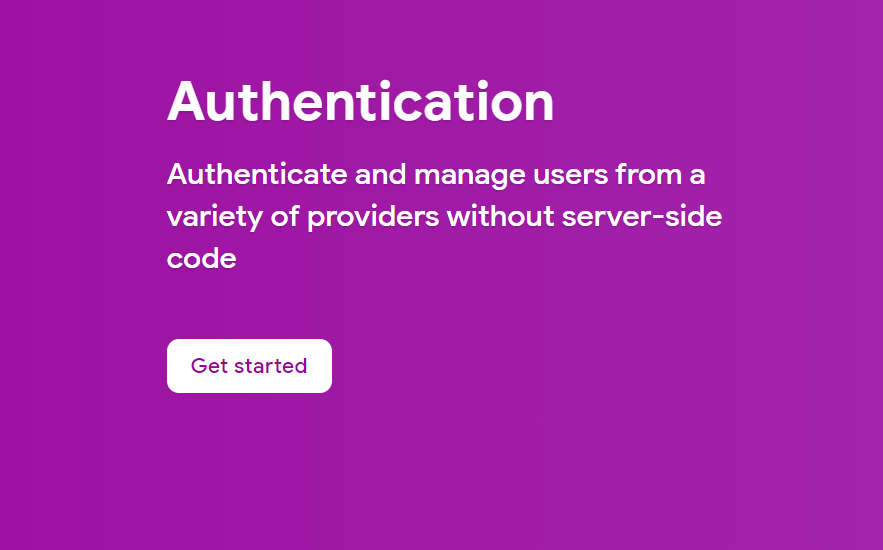
And then click Get Started.
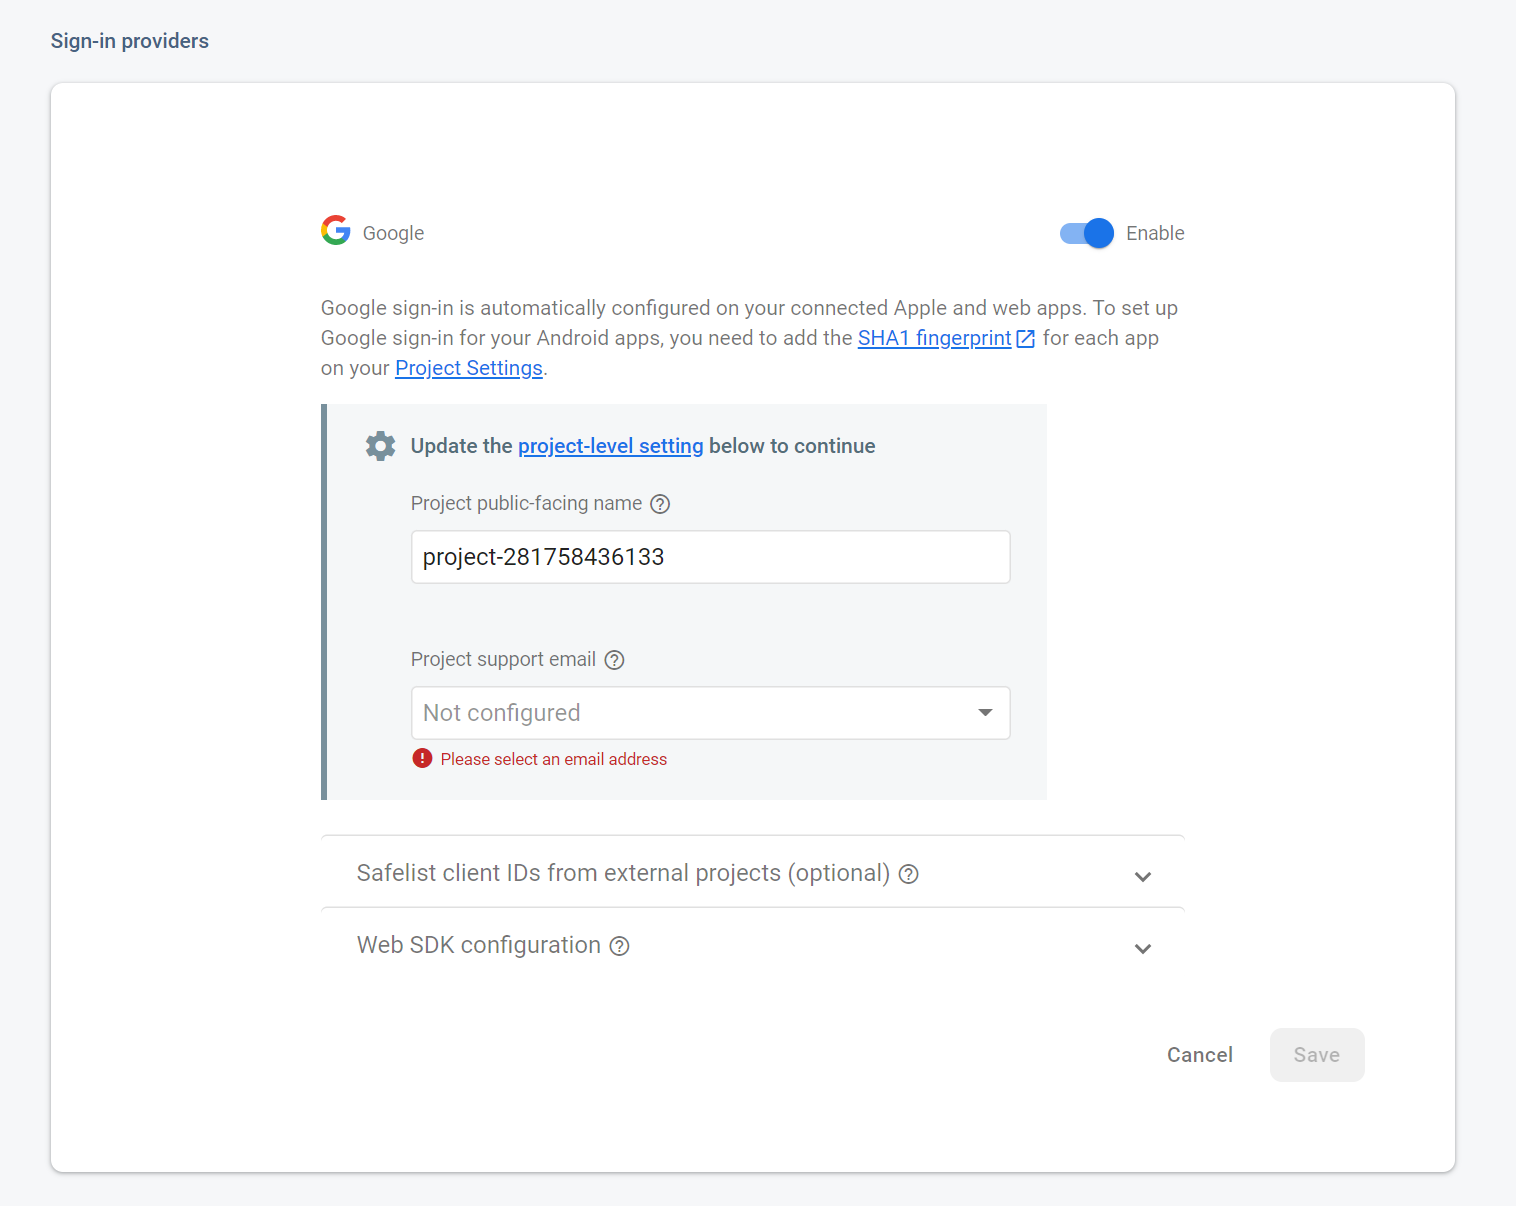
On the next screen, select Google under Other Providers.
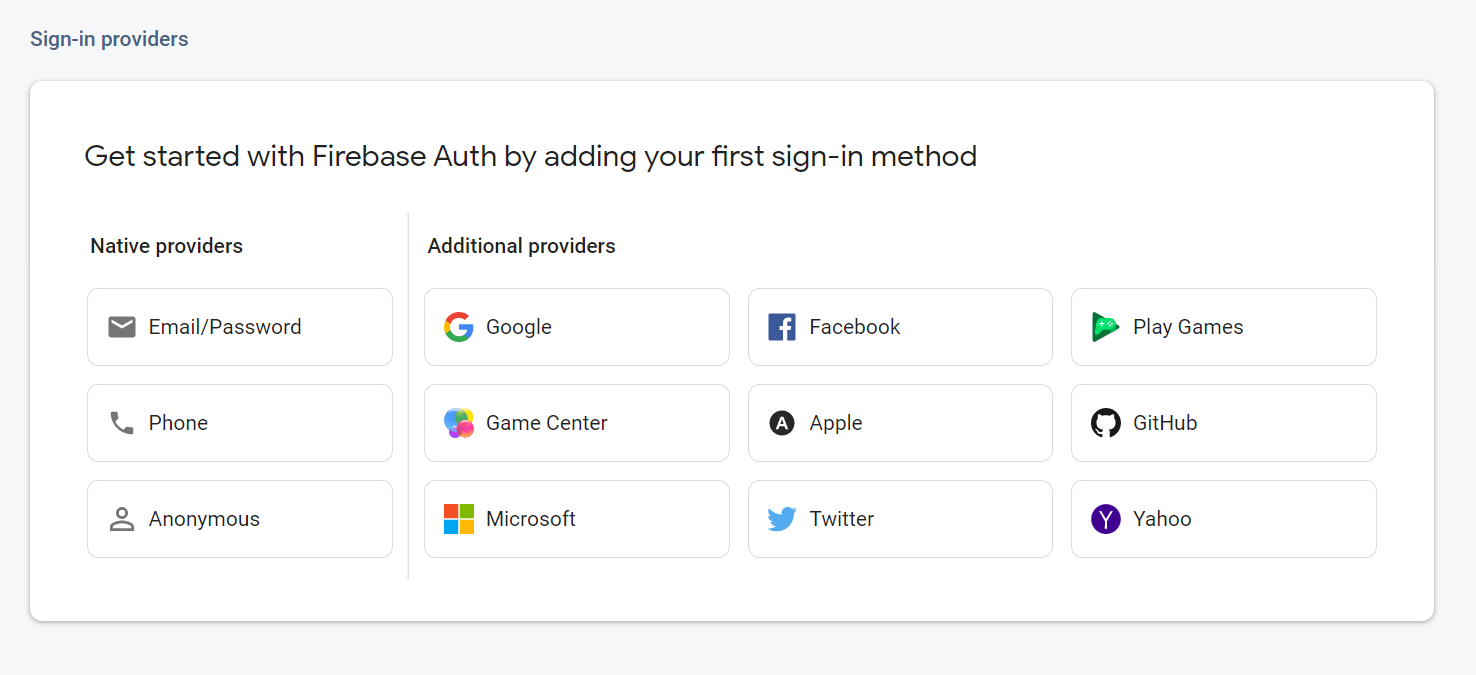
Then you will need to click the slidebar at the top to enable Google as an authentication provider. Enter a service email address and then click Save.
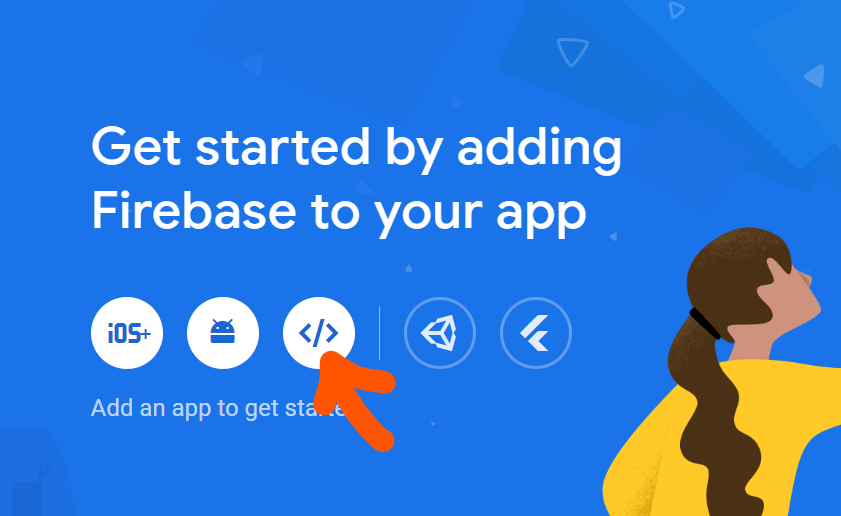
Now you will need to click Project Overview on the sidebar above the Build menu. This will take you back to the main page for your project. From here you will need to click the icon for adding a web app to your project.
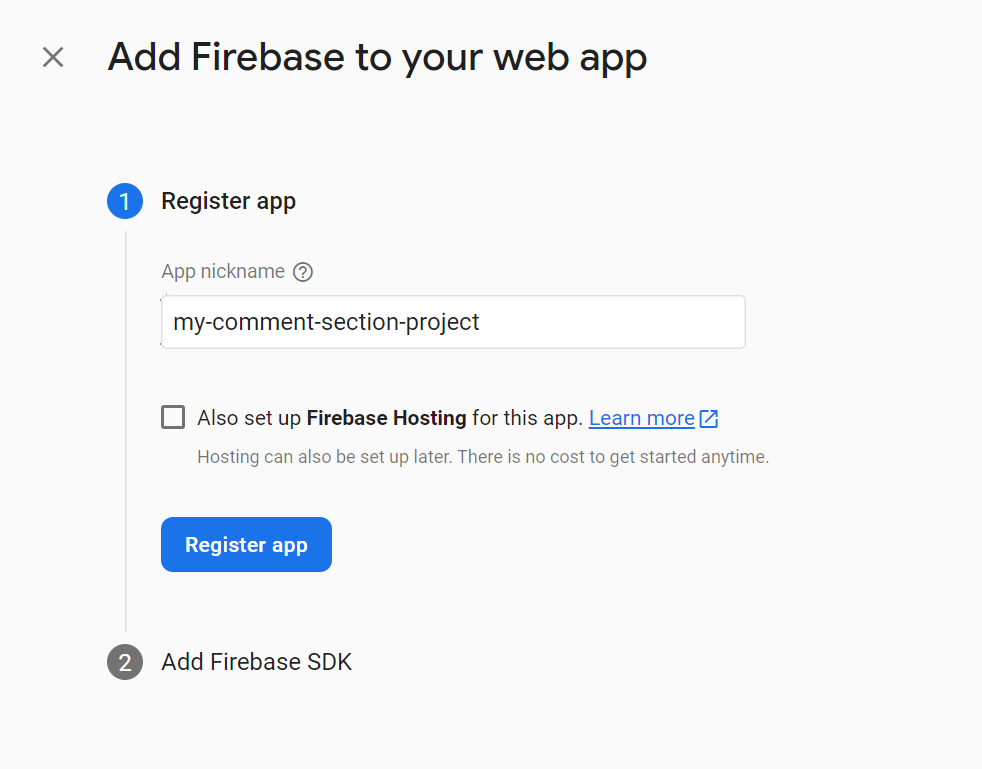
On the next screen, you will enter a name of your choice for your app and then click Register App.
Then you will a screen that looks like this.
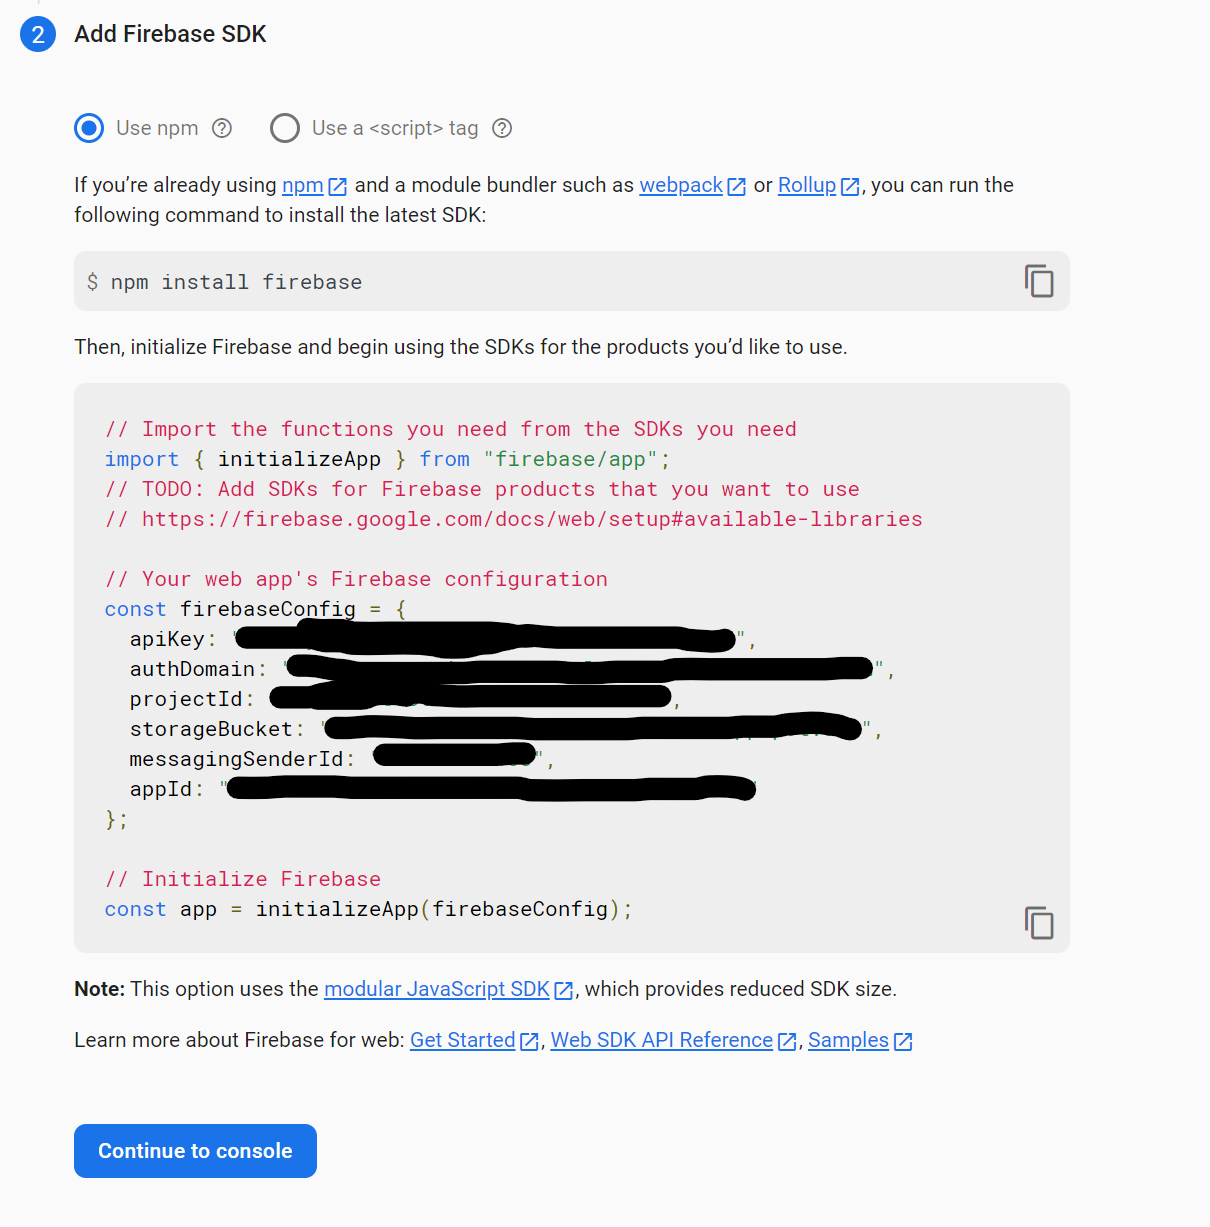
We don't need to install firebase since we already did that. All we need to do right now is copy the code in the next box and paste it into our firebase-config.js file.
Just copy it as is for now. We will make some changes to it later. After you have pasted it into the firebase-config.js file, go back to Firebase and click Continue to Console.
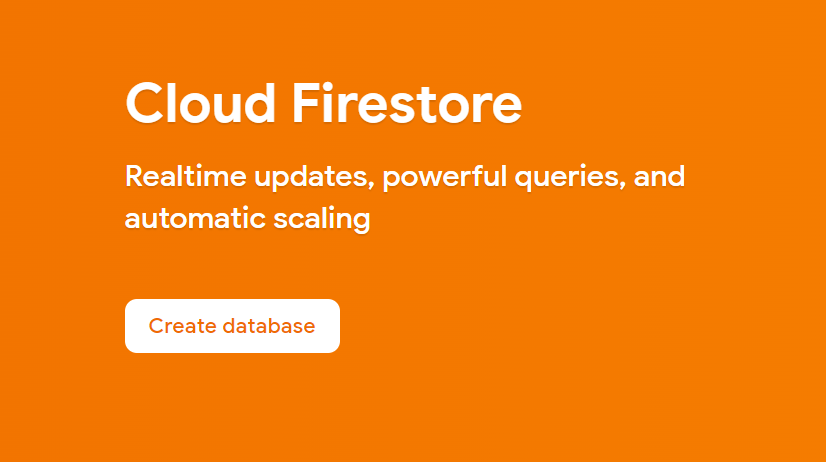
Now go back to the Build menu in the sidebar and click Firestore Database. Then click Create Database.
From here, we will want to start in Production Mode so just click Next.
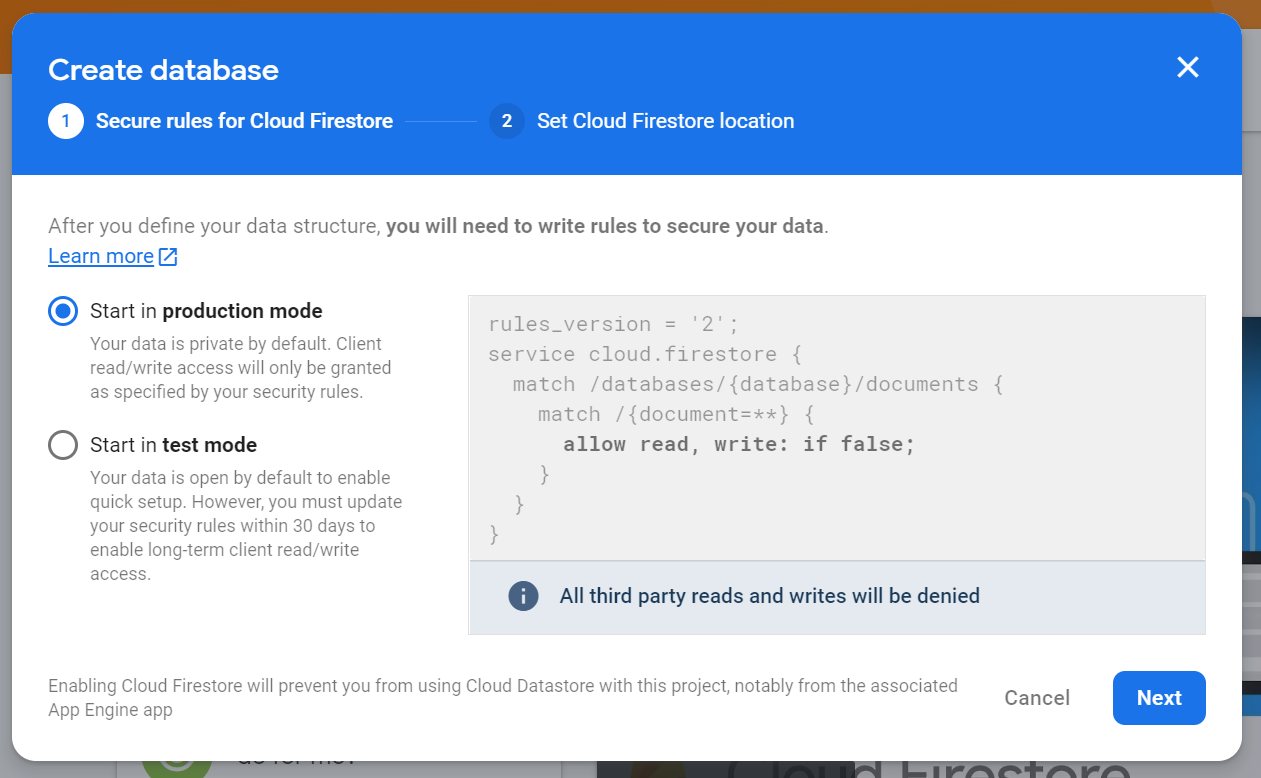
On the next screen, select the location closest to you and click Enable.

Provisioning the database will take a few moments. On the next screen, click Start Collection.
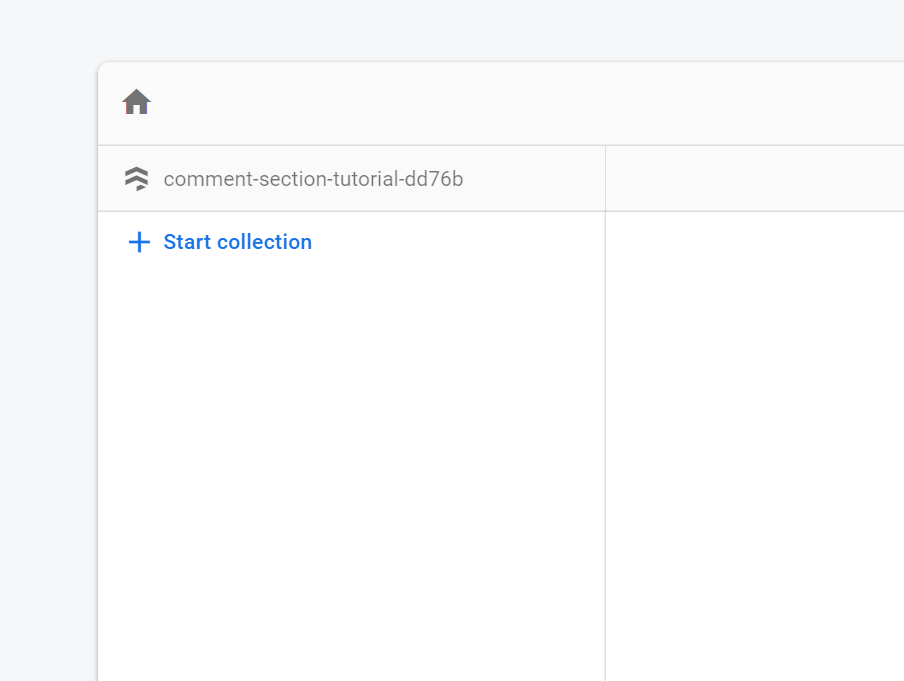
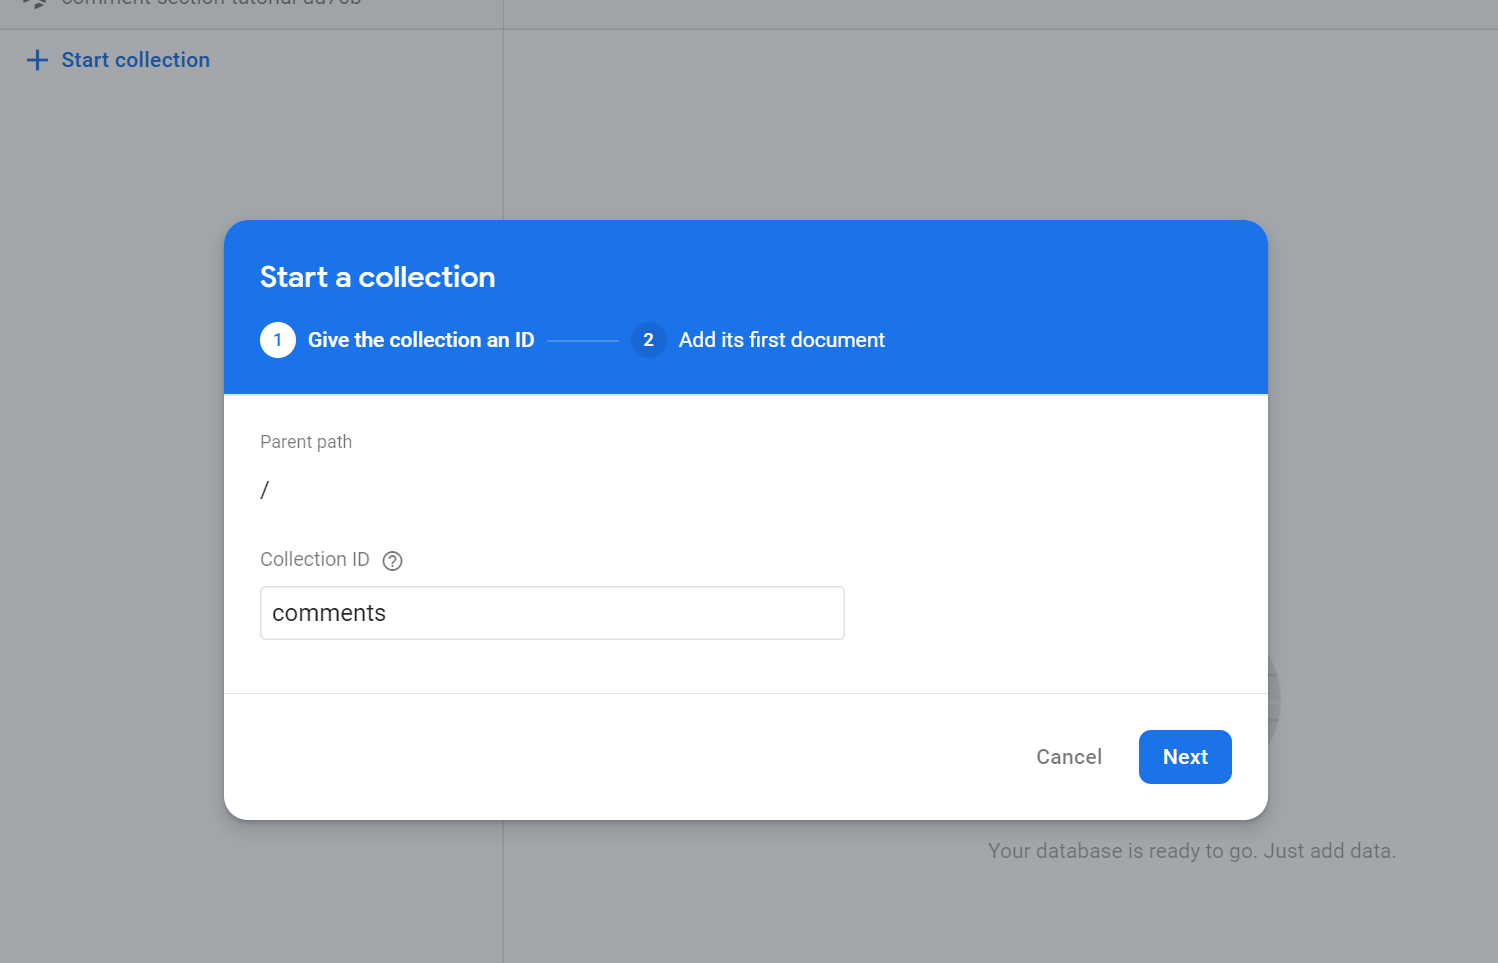
Enter the name 'comments' for your collection and click Next.
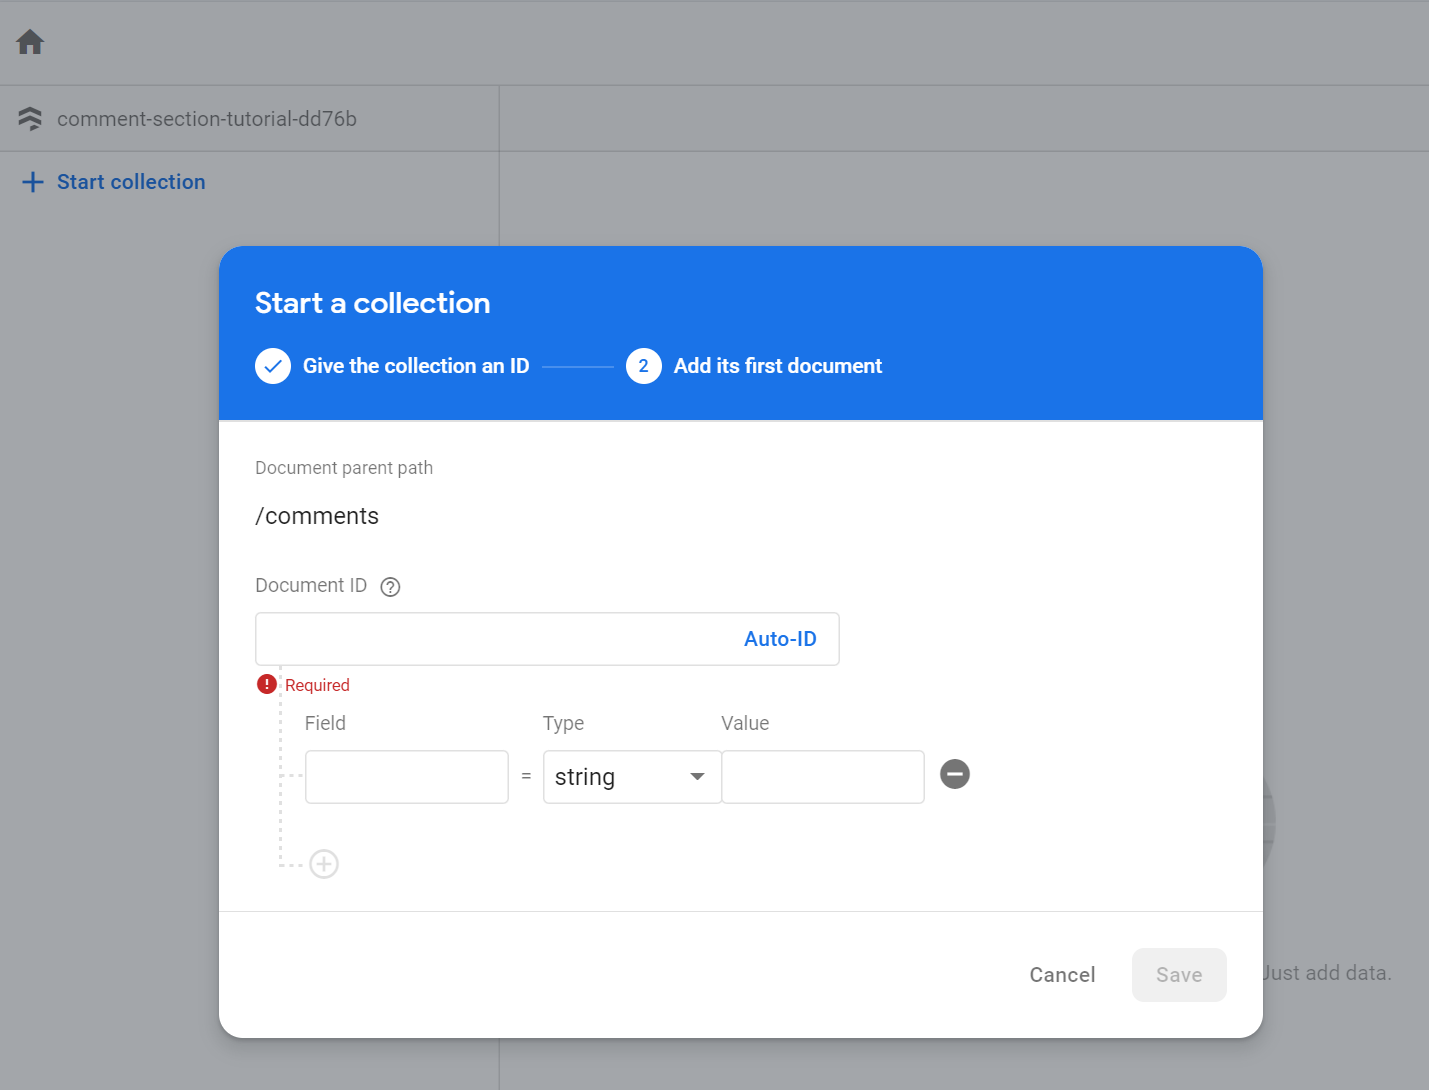
On the next screen, click the button for Auto Id to give your first document a unique identifier.
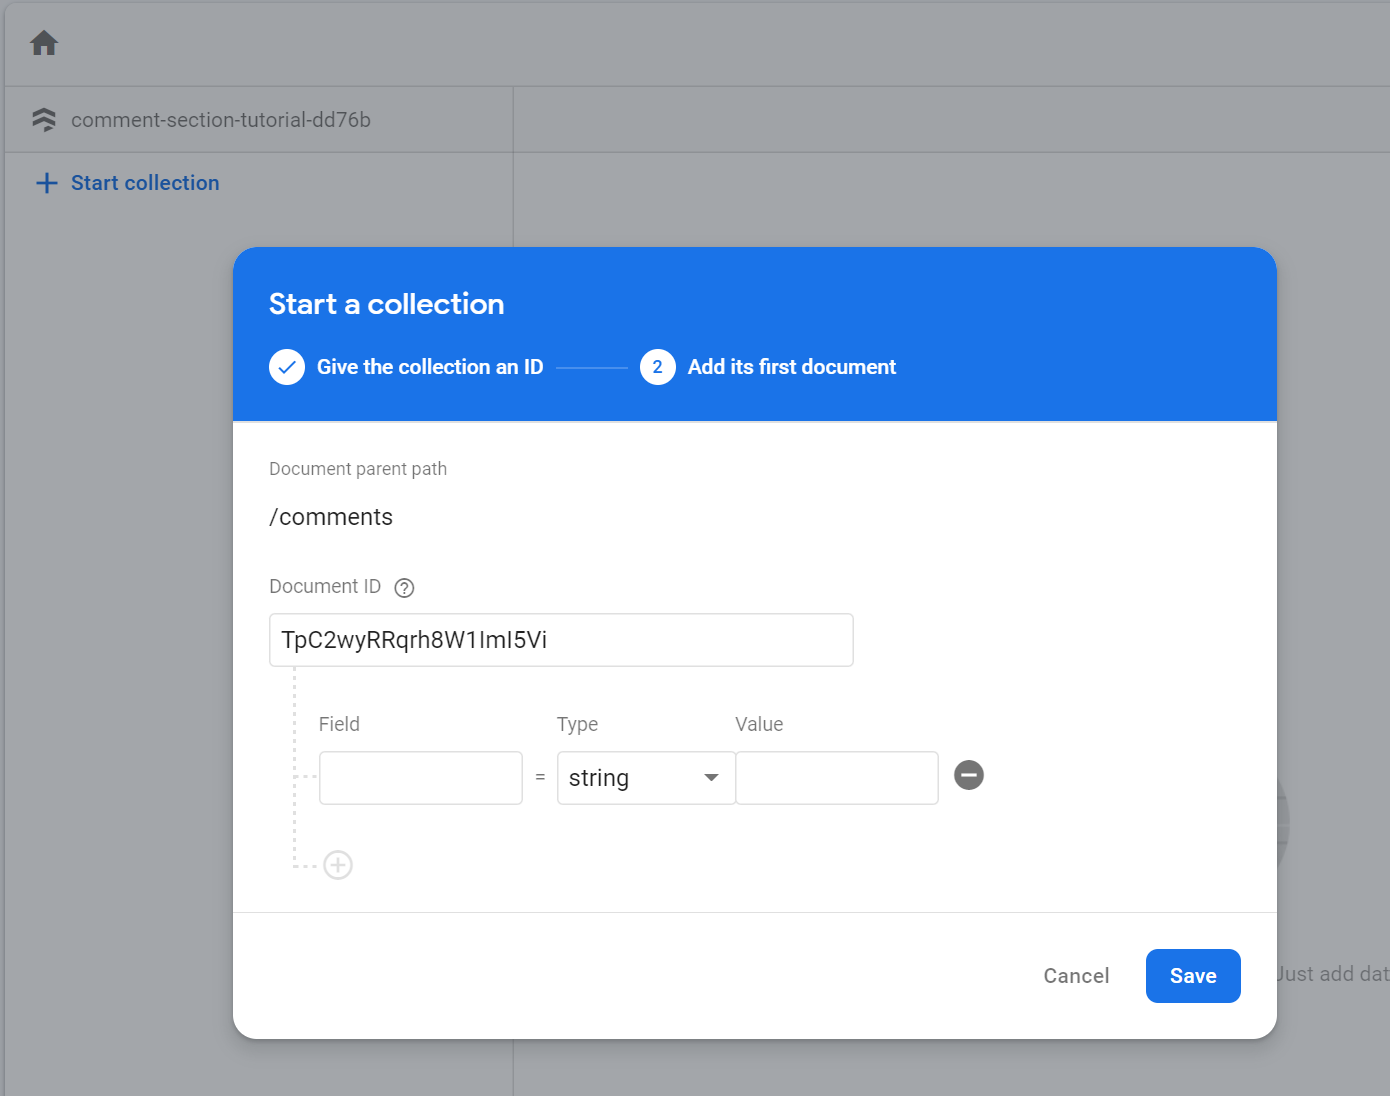
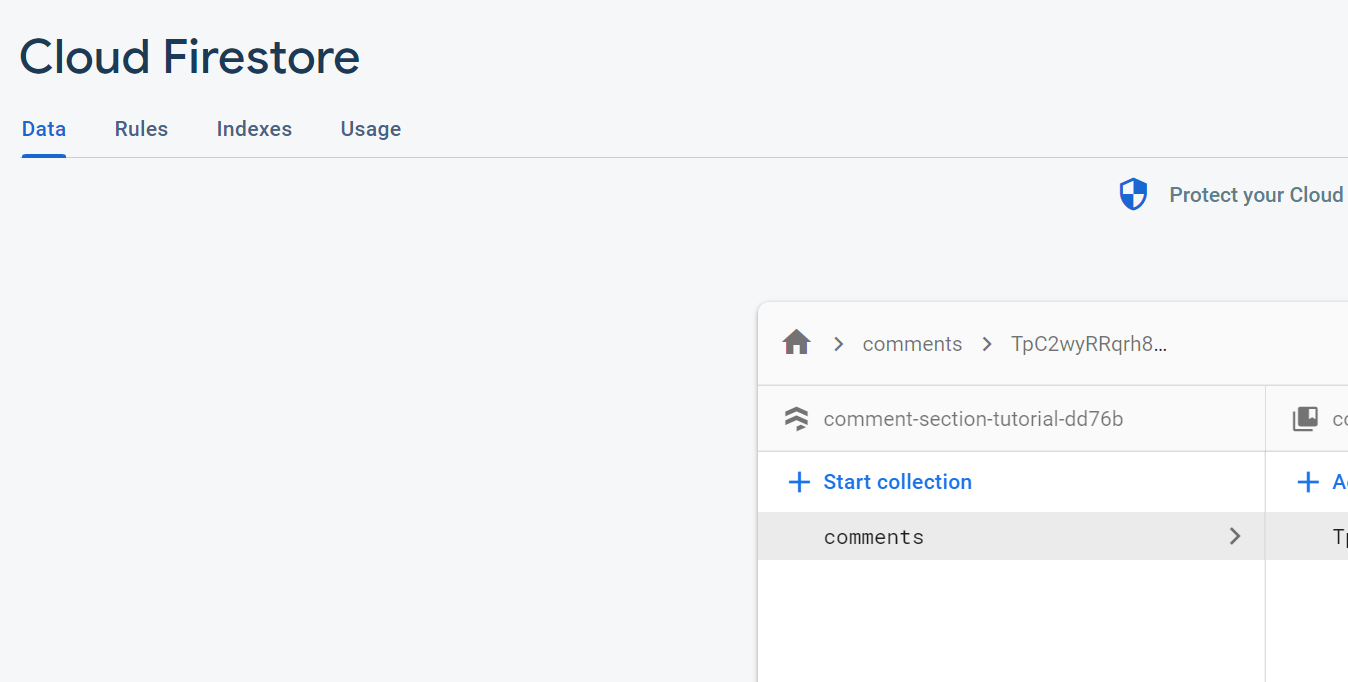
Then click Save. This will add a blank document to our collection so that our queries against this database will work. We will delete this blank document later after we add some data.
There is just one last thing to do and we will have our database configured. Click on the Rule tab at the top left of the screen.
Then alter the rules as follows. When you have made the modifications click Publish.
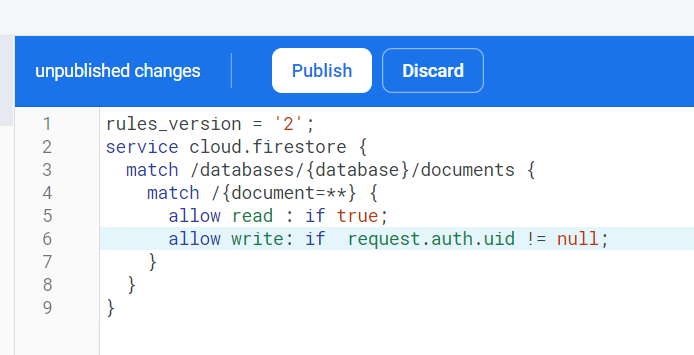
These rules will allow any user to see the records in the database but they will require a user to be logged in to write to the database.
Now we're ready to go back to VSCode and build our app.
Let's start by setting up our environment variables in our .env file.
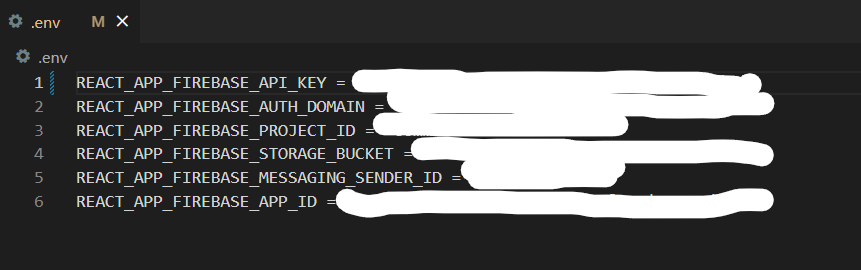
You will copy and paste the values from the firebase.config.js file into the corresponding variable name. Note that you must have 'REACT_APP_' to start each variable or your app will not work.
Now you can set up your firebase.config.js file as follows. Note that we are initializing our app, our Firestore database, and our Google Auth Provider in this file.
One last housekeeping thing we should do is clean up our index.html and our index.js files as follows.
Next we should add the styling to the index.css file to style our Sign in with Google button. This will be the only styling we will add to the index.css file. All other styling will be done using TailwindCSS classes.
Now we can fill in the api.js file with our Create, Update, and Delete queries that will run against the Firestore database. Note that we will be importing the addDoc,collection, deleteDoc, doc, and updateDoc functions from Firestore as well as db andauth from our firebase.config.js file.
Our createComment function will add the fields we need to create a comment document. The updateComment function will take the updated text and an id as parameters, and thedeleteComment function will take an id as a parameter. Please refer to the Firebase Docs for specific information about how to construct these types of queries.
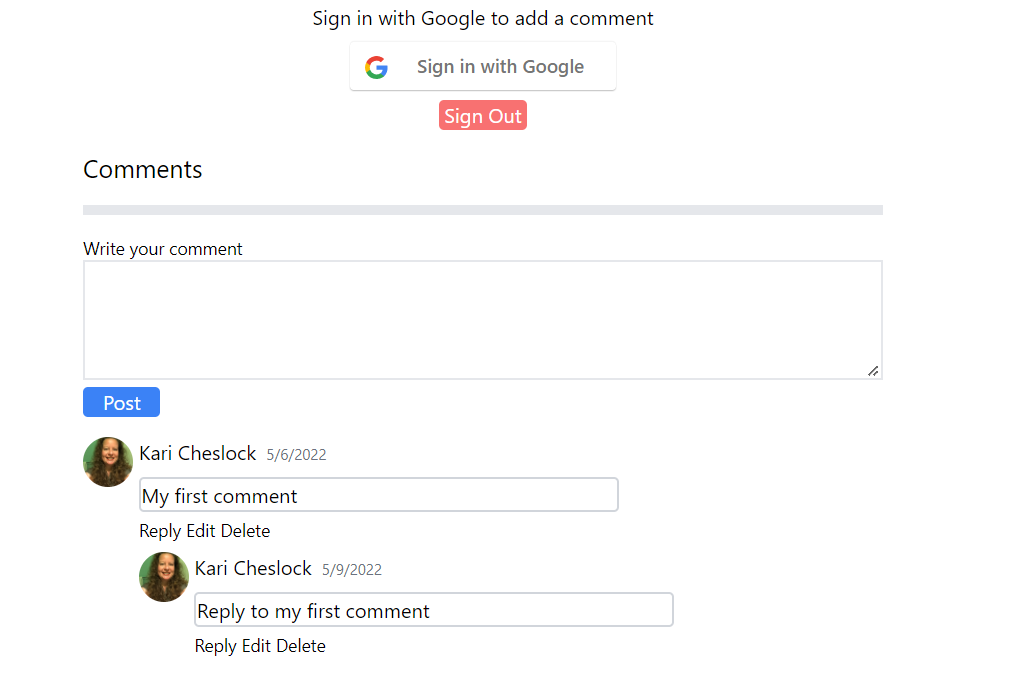
Now we are ready to build our comments components. Let's start with the Comments.js file. This form is fairly simple. We will just need one textarea and two buttons.
We will create some state variables for the text that will be entered as well as a variable that toggles the form on and off. We will also set some conditional rendering that determines if the Submit button is enabled and if the Cancel button is showing.
Next we will add the code for the Comment.js file. Note that we will be using the Comment Form that we created to edit or reply to a comment. We will also be calling the Comment component recursively in order to display all replies.
Finally conditional rendering will be used to determine who can reply to a comment, edit a comment, or delete a comment. Any user will be allowed to reply to a comment, but only the user who created a comment will be able to edit or delete it.
Finally, we will create the Comments.js file using our api functions as well as the getDocs function from Firestore. We will use the useEffect hook to retrieve all comments from Firebase.
Then we will render the Comment Form for authorized users with the retrieved comments below it.
Now all we need to do is add the code to our App.js file and we will be done! This is where we need to create our Sign in and Sign out functions. Note that these functions will be used to set a variable in localStorage called isAuth. This variable will determine what is visible to the user.
And that's it! You should now be able to run npm start to see your completed project. Time to celebrate! 🎉🎉
Please comment below 👇 or send me a message 📨 if you liked what I had to say. You can also connect with me on LinkedIn .
Also, don't forget to Subscribe to this blog to receive future updates!
Happy Coding!
Kari
Sign in with Google to add a comment
Comments