

to this blog to receive future updates!
Hello, Happy Coders!
It's time to explore user authentication - arguably one of the most important parts of any application. Firebase offers a straight-forward way to handle user access to your application, and I'm going to show you how to set that up here.
Let's get started.
The first step is to create a new project in Firebase.
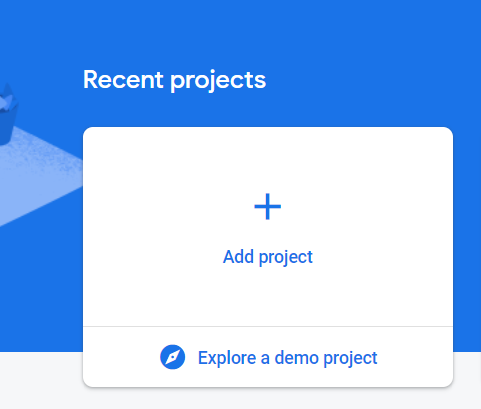
Go to the Firebase Console and click Add Project.
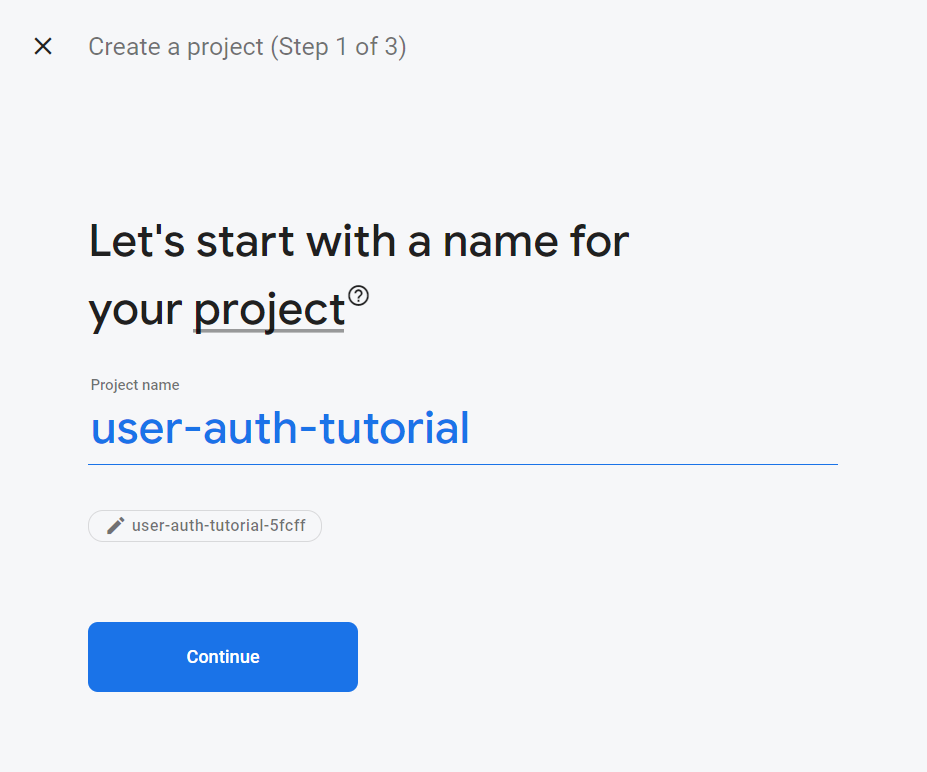
On the next screen, give your project a name. It can be anything you want.
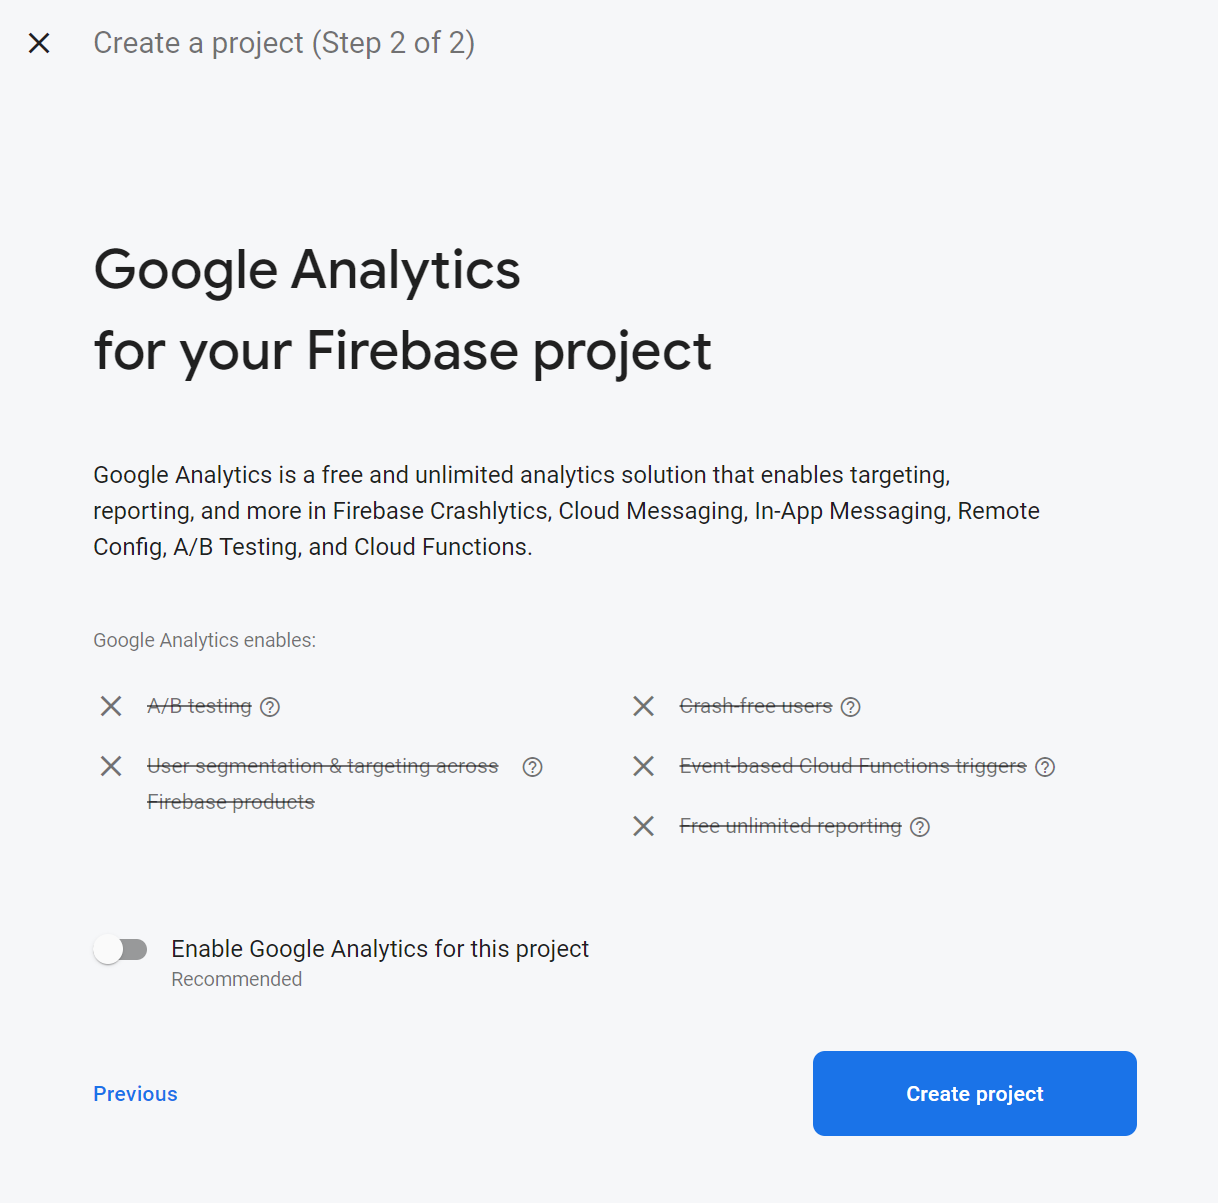
On the next screen, you can choose whether or not to enable Google Analytics and then click Create Project.
It will take a few moments to create the project. Once it's created, click Continue.
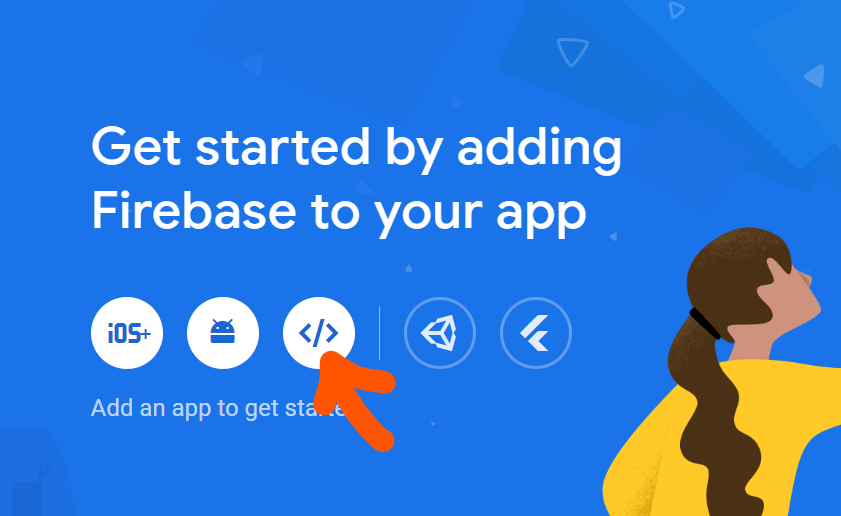
From the dashboard, we need to add a web application by clicking on the web icon.
On the next screen, give your app a name of your choice and then click Register app.
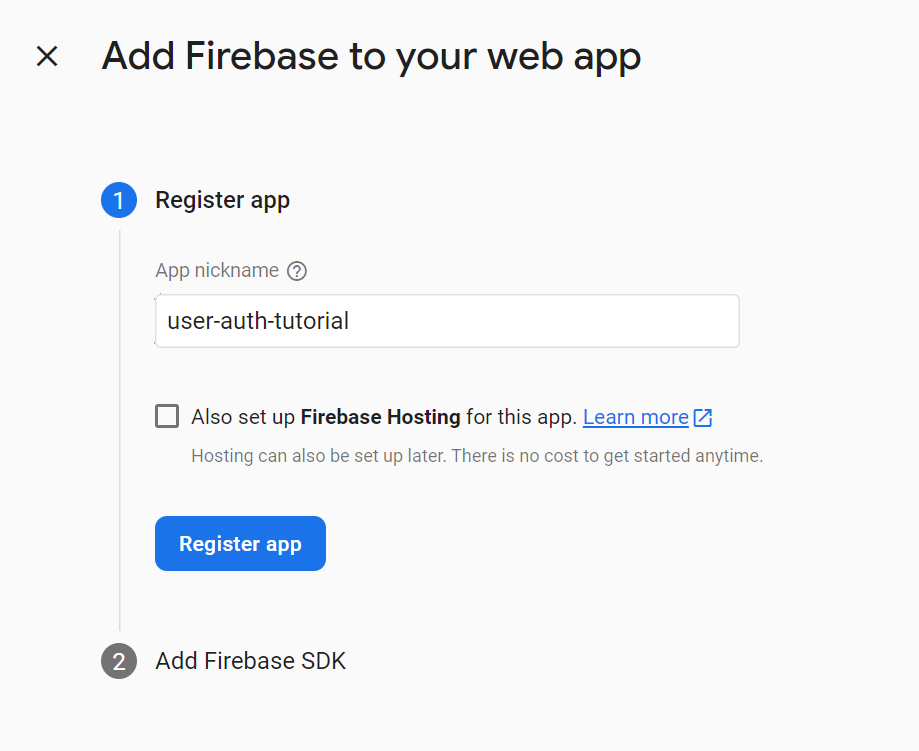
You will then see a screen that looks similar to the screen below.
Leave the screen as is for now. We will come back to it shortly. Time to create a react app.
Open a command prompt or PowerShell and navigate to the folder where you want to create your project. Then type npx create-react-app user-auth-tutorial at the prompt.
After the project is finished initializing, cd into the newly created folder and launch VSCode by typing code . including the '.' at the end.
If you need to install VSCode, go here.
First things first, we need to install some dependencies. Type the following into the terminal, pressing enter after each command.
npm install react-router-domnpm install tailwindcssnpm install firebasenpm install check-password-strengthThe react-router-dom package will be used to create our routes, the tailwindcss package will be used for styling, the firebase package will be used to connect to our backend, and the check-password-strength package will be used to have the user sign up with strong password.
Configuring TailwindCSS takes a couple more steps. Refer to this page for further information.
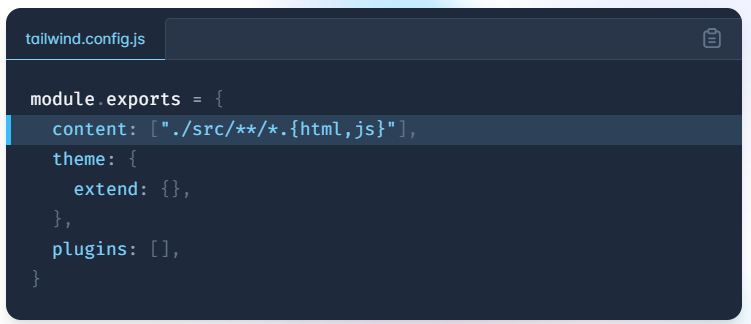
In the terminal, enter the command npx tailwindcss init
This will create a tailwind.config.js file. Open this file and add the following code.
You will also need to go into the index.css file and add the following code.
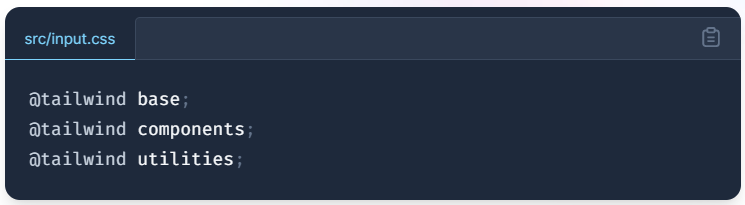
Of course, if you do not wish to use TailwindCSS for styling, you can skip those steps and style your components however you would like.
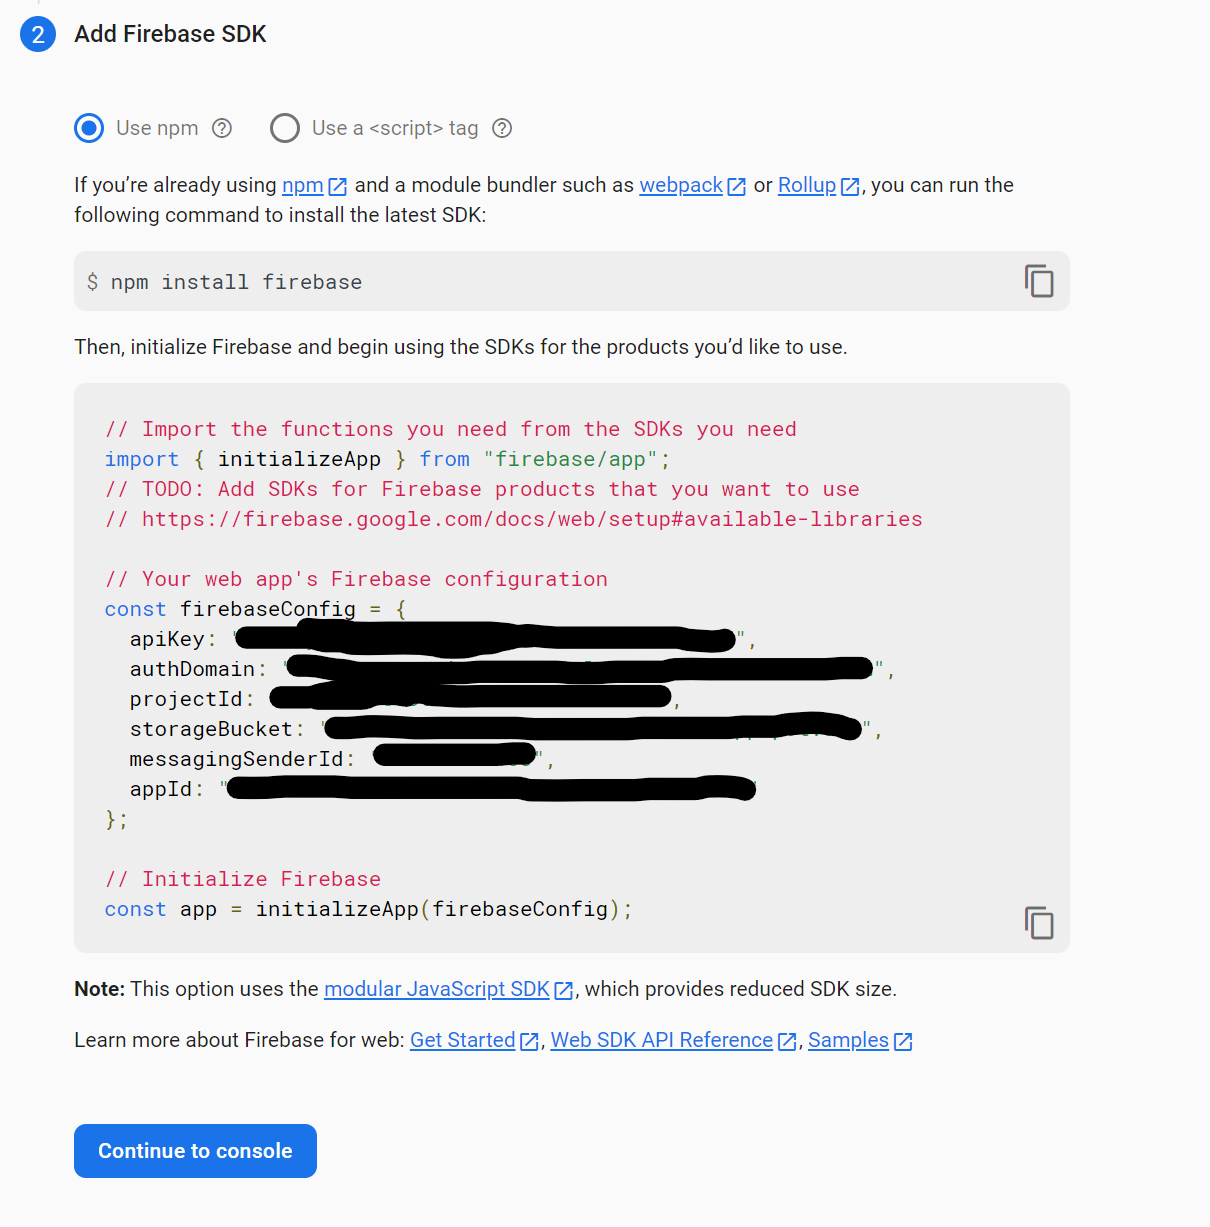
Ok, it's finally time to start writing some code. The first step is to create a new file in the src folder in your app. Call the file firebase-config.js and add the following code to it.
You will get the values for the firebaseConfig object from the Firebase SDK screen on the firebase console - the screen we paused on above. After you copy and paste these values you can click Continue to console.
If you ever need to access these variables again, you can find them in the project settings.
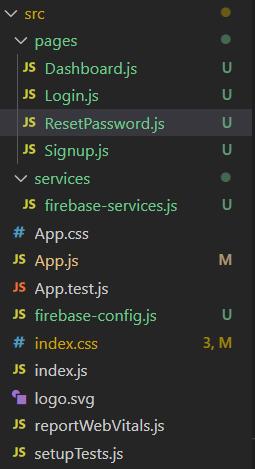
Next, in the src folder, add a new folder called pages and create the following files.
Dashboard.js
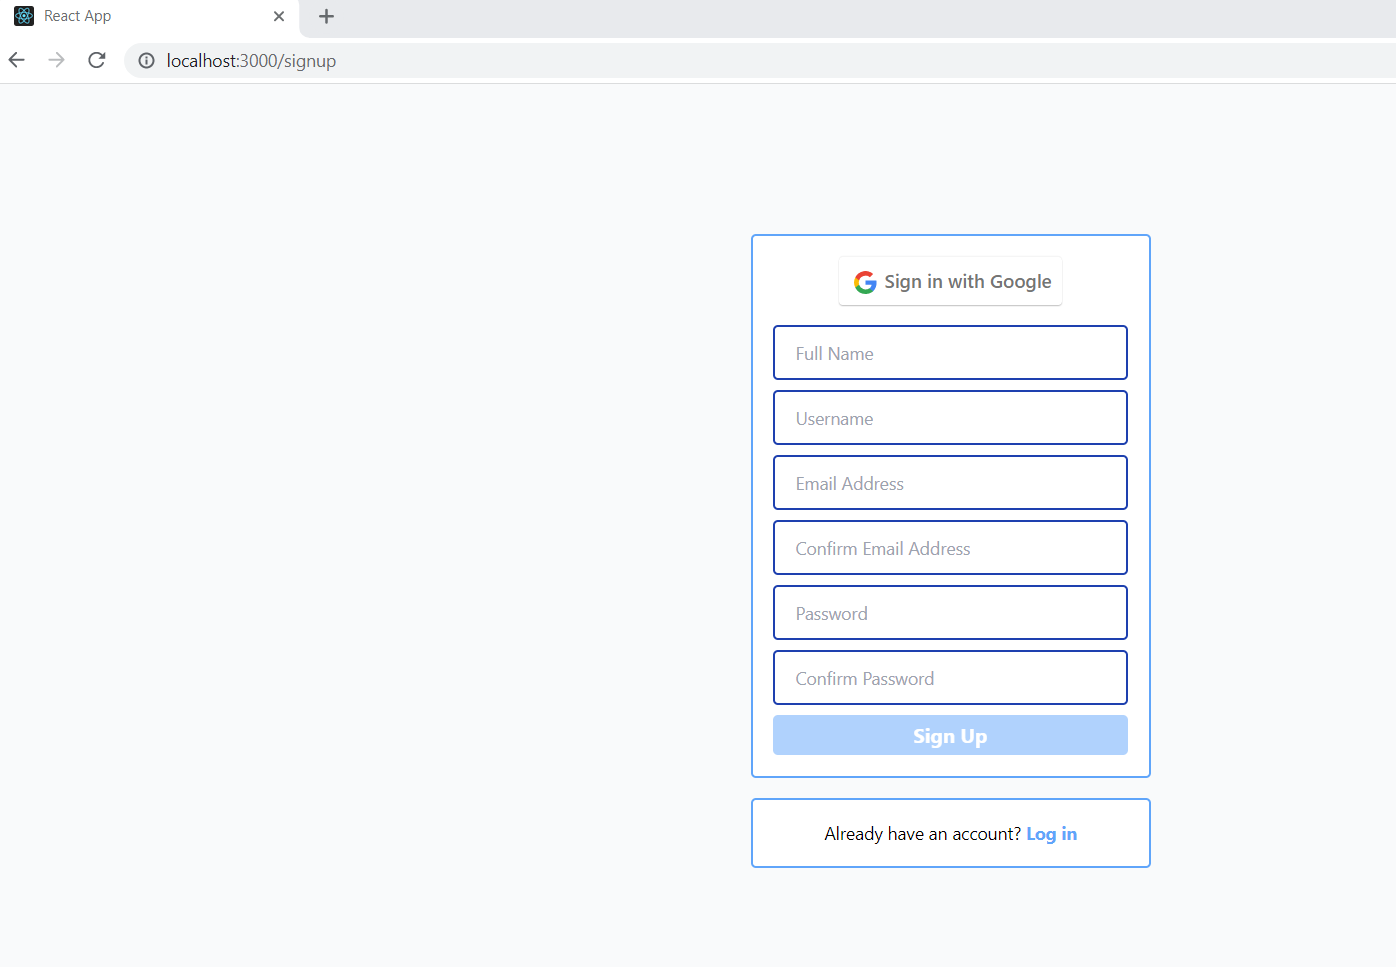
Signup.js
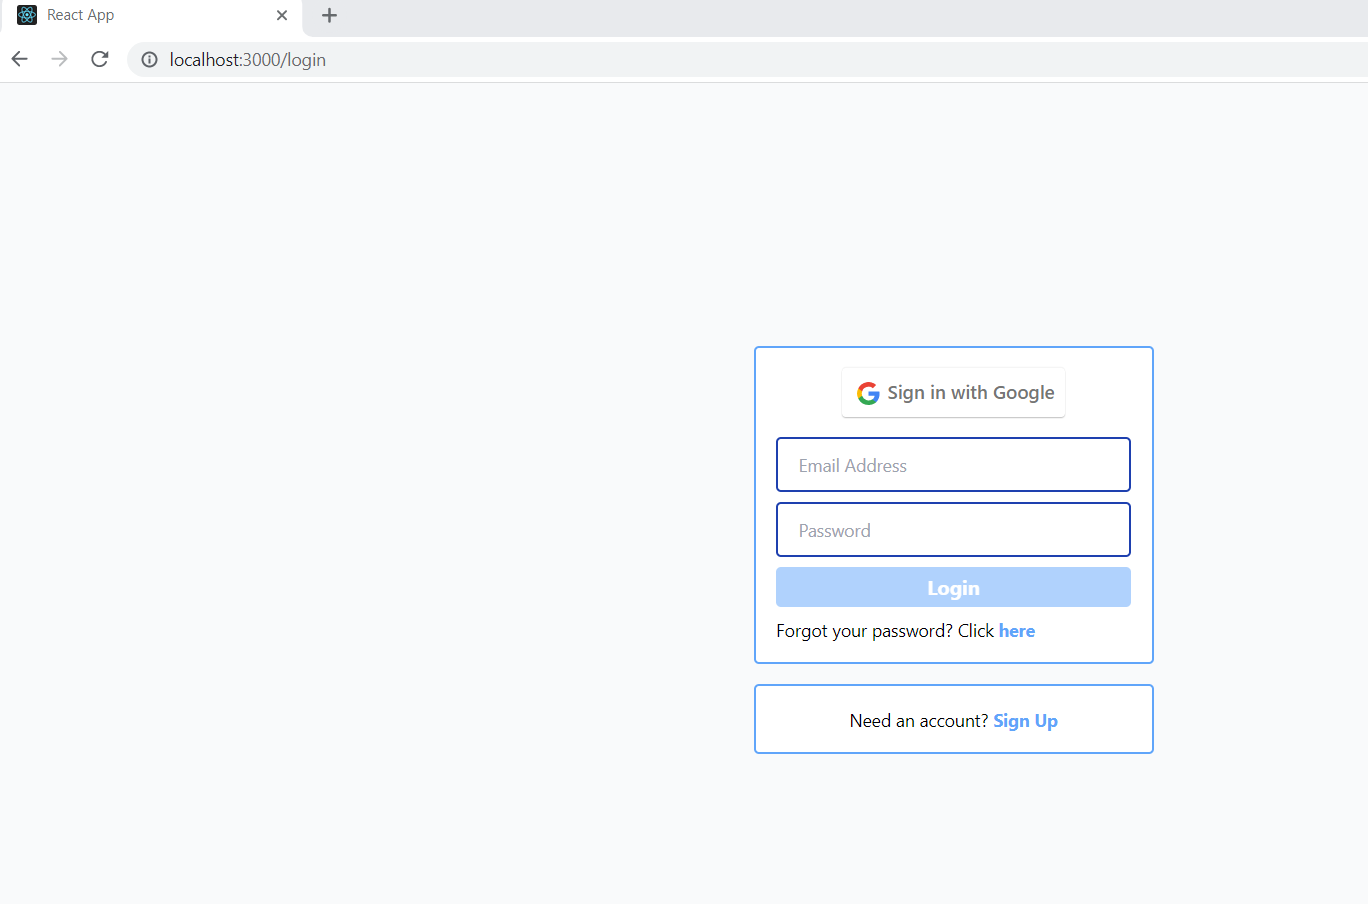
Login.js
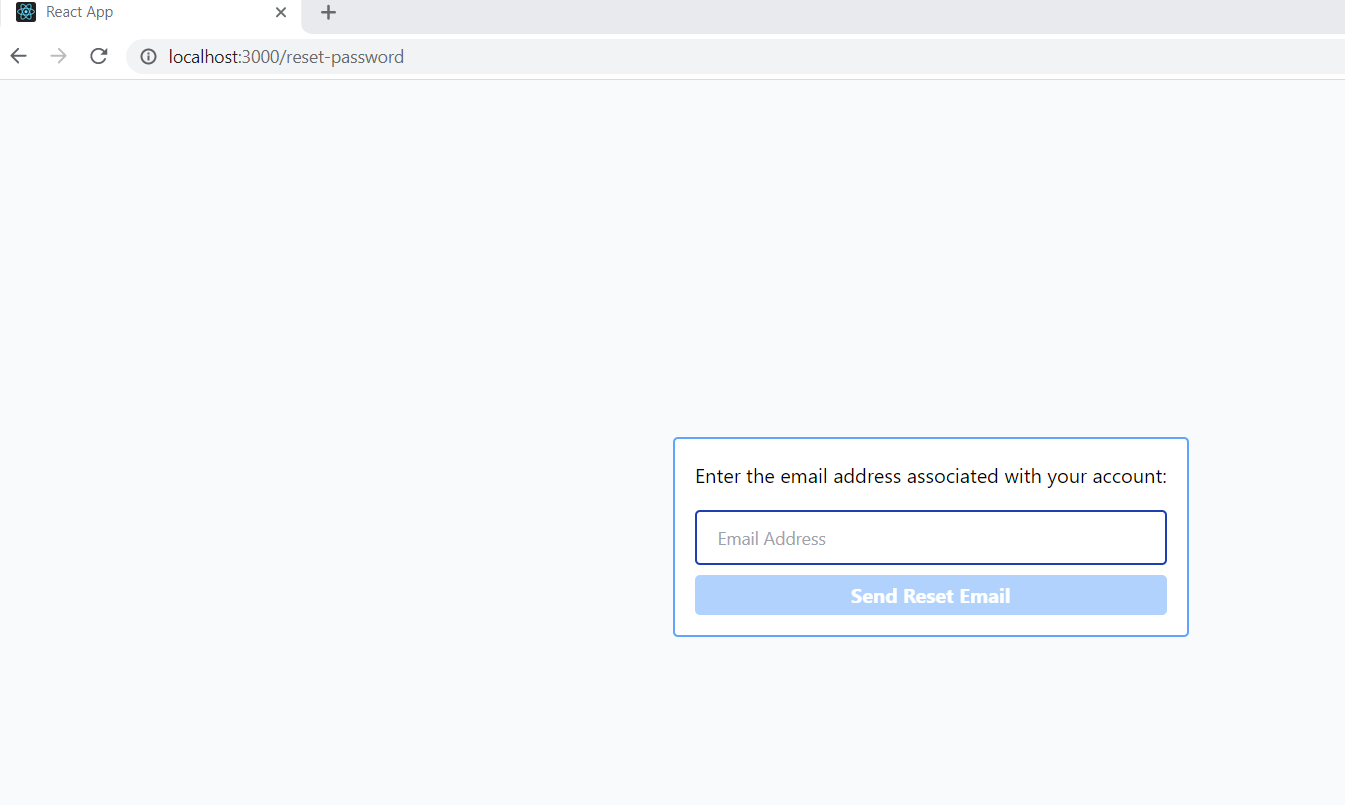
ResetPassword.js
Also in the src folder, add a new folder called services and in this folder create the following file.
firebase-services.js
This file will be used to hold a couple of queries that we will use to access our firebase database.
You're completed filetree for your src folder should look something like this.
Ok, before we get any further ahead of ourselves, let's go back to the firebase console and set up our database and our authentication.
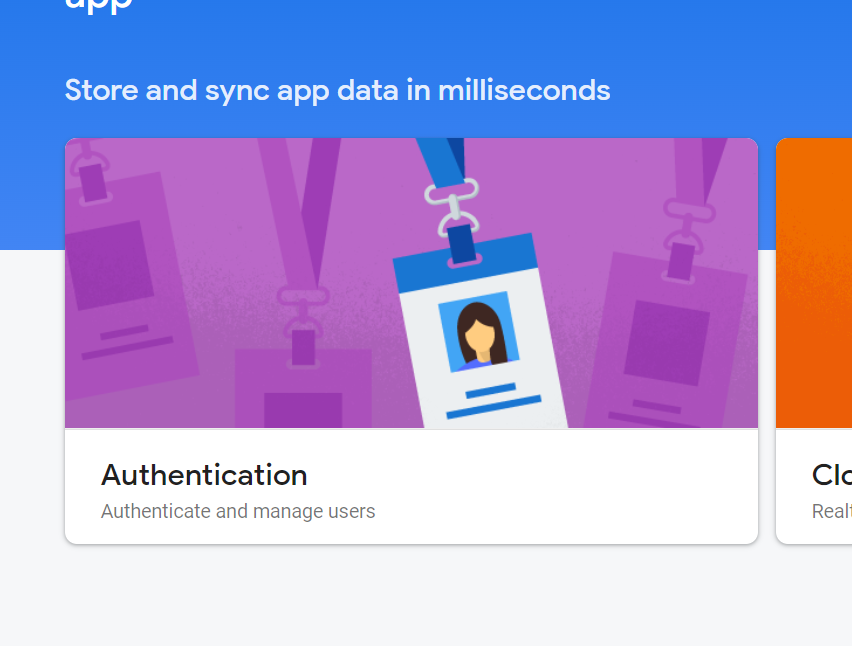
Start by clicking on Authentication from the dashboard of your project.
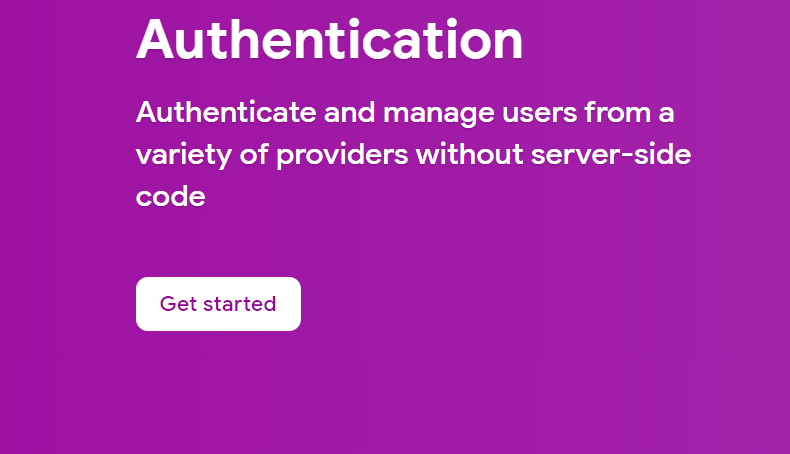
From the next screen, click on Get Started.
On the next screen, you will see the various options for creating user authentication.
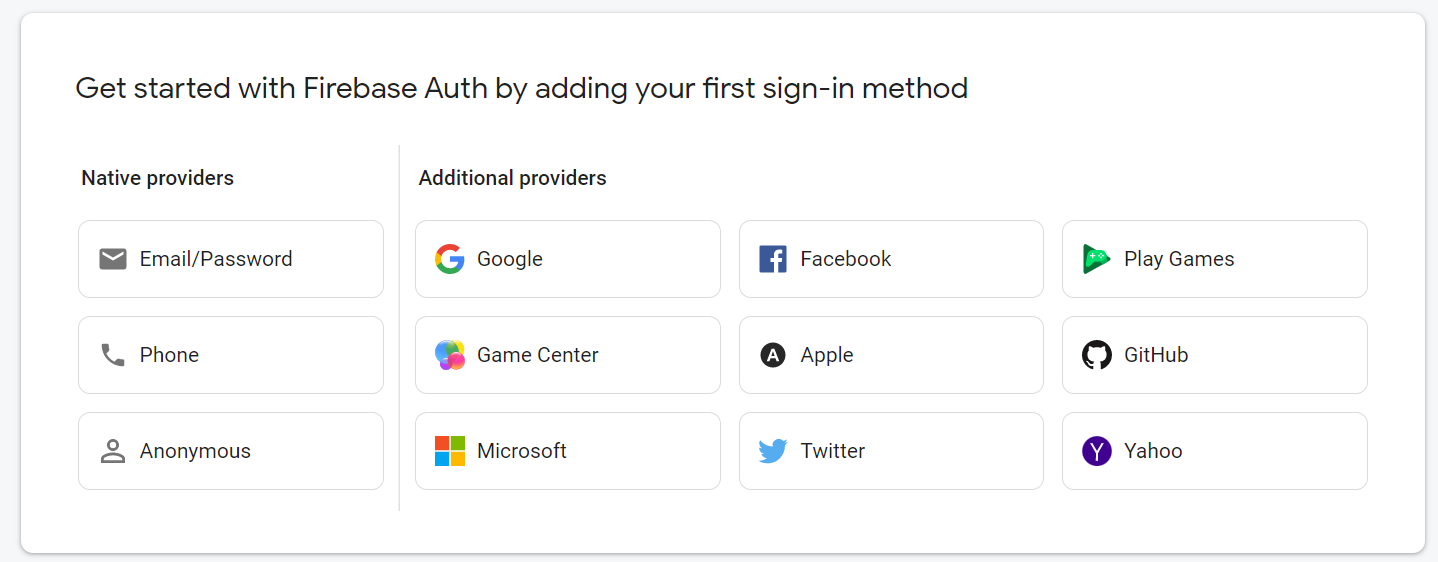
We will be using the Email/Password and the Google provider for our authentication in this app.
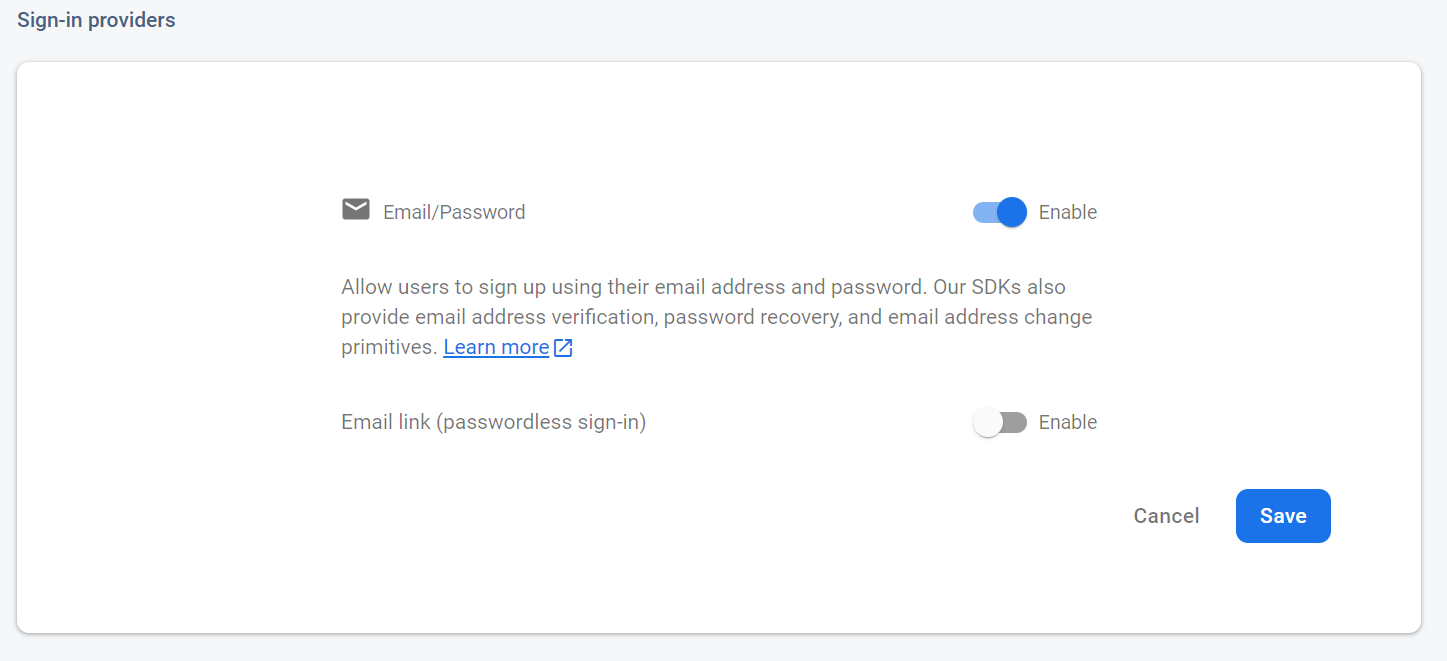
Start by selecting the Email/Password option.
On the next screen, click the slidebar to enable email/password authentication and click save.
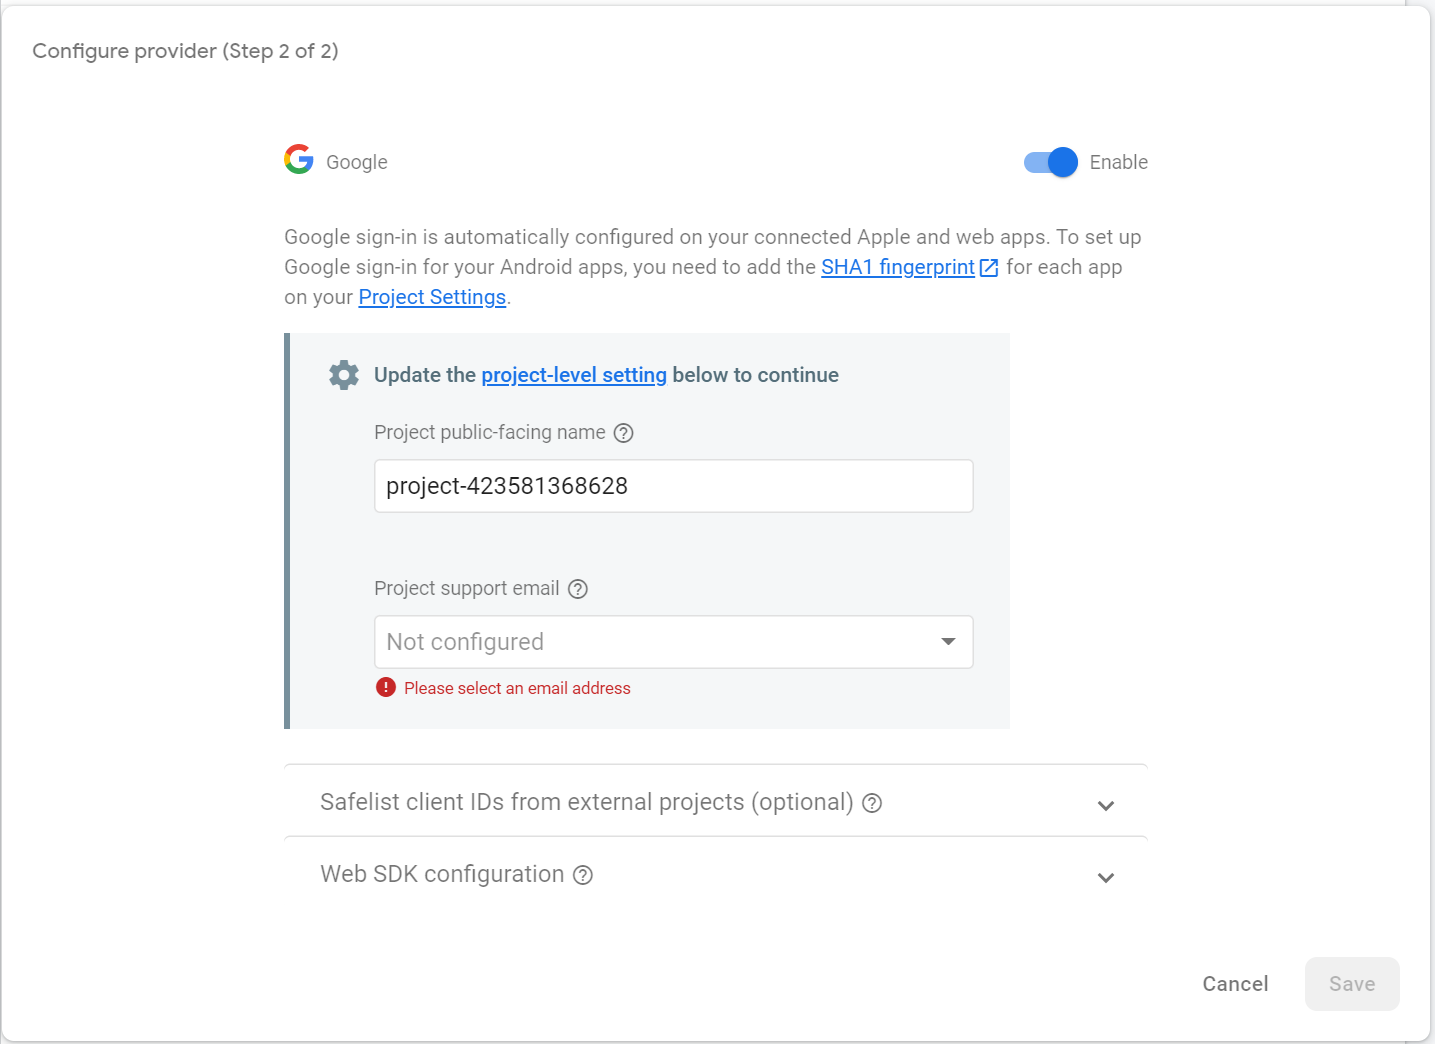
On the next screen, click Add New Provider.

This time, select Google and then select the slidebar for Enable on the next screen. You will need to provide a support email address before you can click Save.
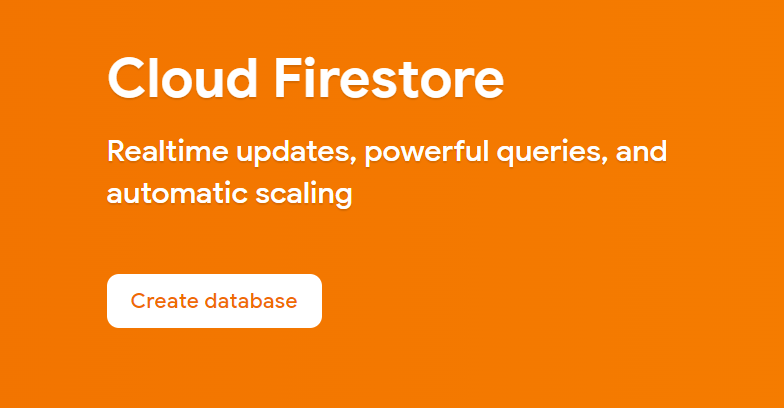
Ok, now we're ready to create a database to hold all of our users. Click on Firestore Database from the menu tree on the left and then click Create Database.
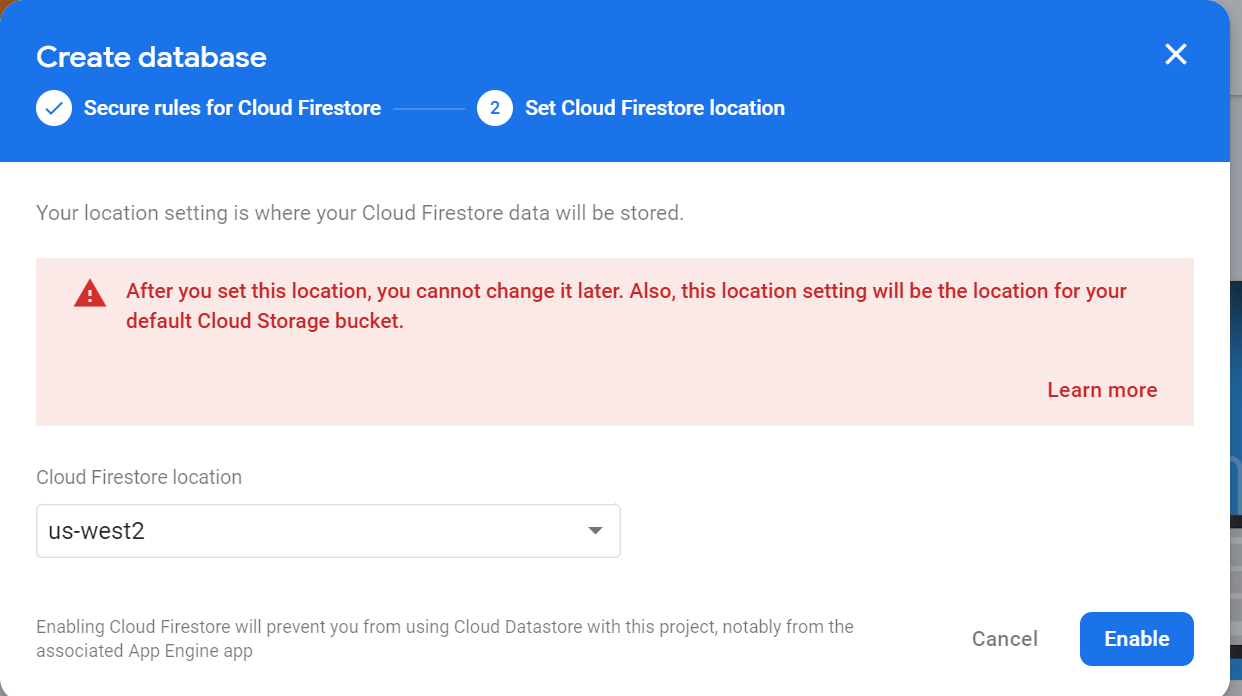
Choose Start in Production Mode and click Next.
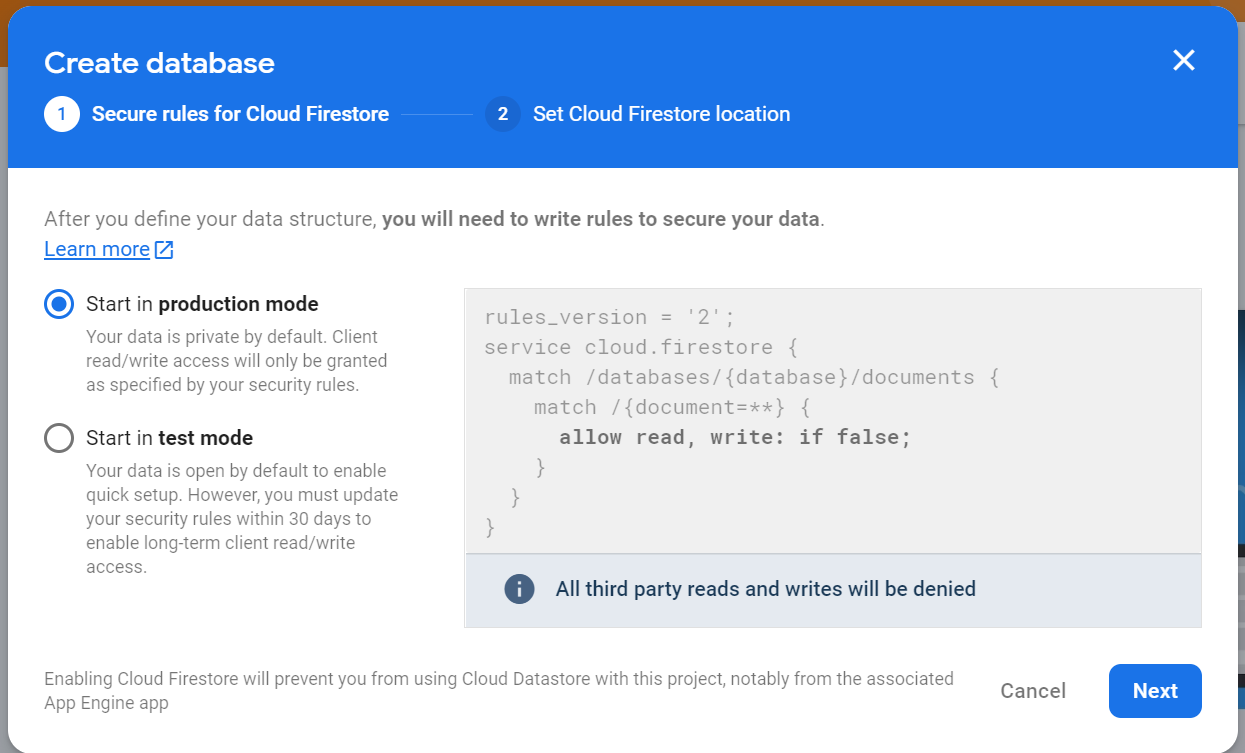
Then select your location and click Enable.
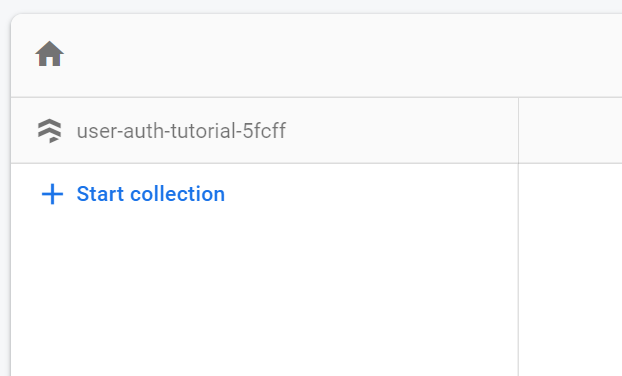
Once your database has been provisioned, select Start Collection from the main database screen.
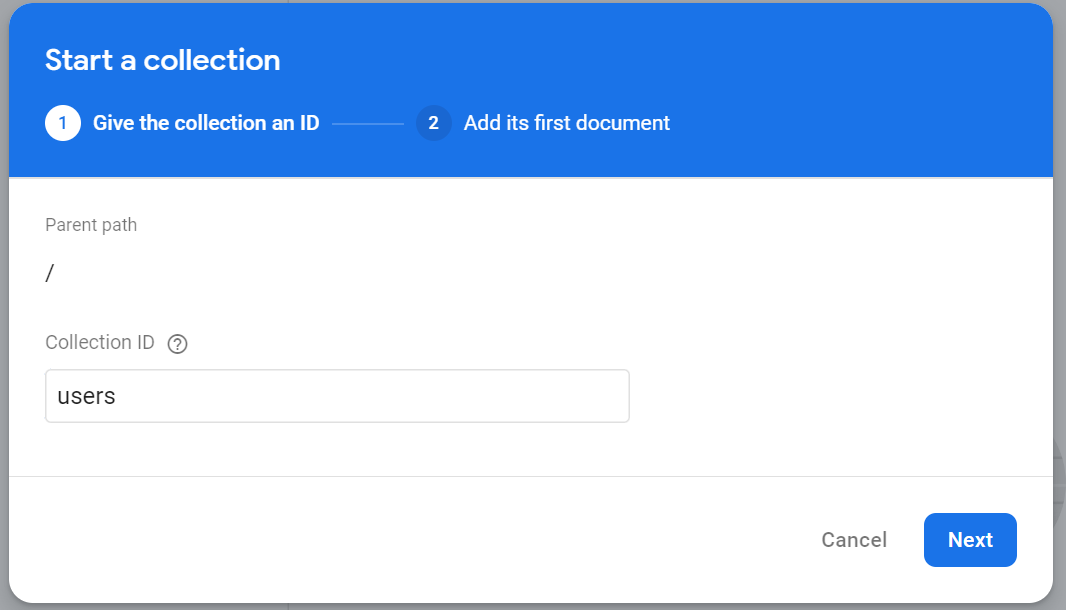
Add the name of the collection which will be 'users' and click Next.
On the next screen, click the button for Auto Id to enable the Save button and then click Save. You should now have a 'users' collection with an empty document in it.

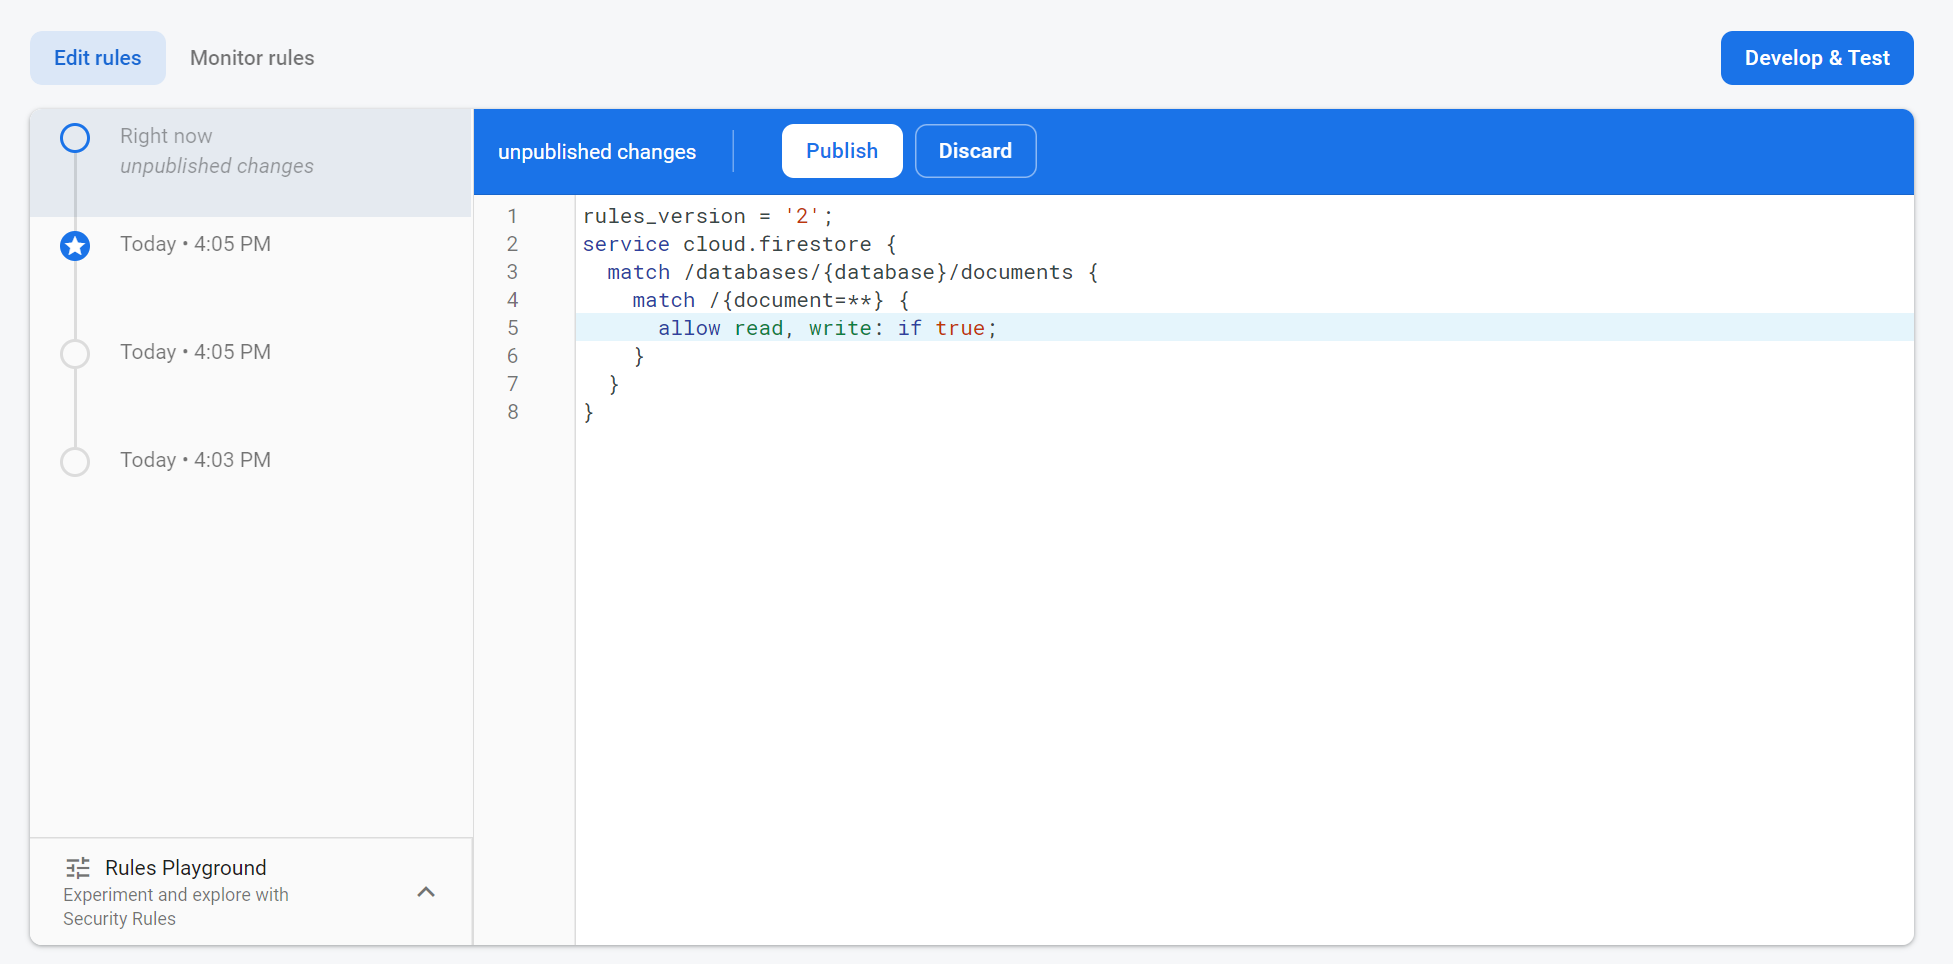
The last thing we need to do is edit the rules for our database. Click on the Rules tab in the upper left of the screen and then change the read,write rule from false to what is shown below. Be sure to click Publish when you are done.
Ok, we are finally ready to add the code to our app.
Let's start with the firebase-services.js file. This fill will contain two queries that we will use to determine if any user that is attempting to sign up already exists in our database.
Copy and paste the following code into your firebase-services.js file.
Next we will set up our routes in the App.js file. Here is the code for that.
And one last housekeeping thing is to add the styling for our Sign In with Google button to the index.css file. Copy and paste the following code.
Finally, we can create our Signup.js, Login.js and ResetPassword.js files. The code for each of these files is below.
Last but not least, we will create the simplest of Dashboards to route the user to when they have completed the sign up or login process.
Comments
Each of the files for Signup.js, Login.js and ResetPassword.js contains a styled form with a corresponding piece of state for each input. The function for submitting the Signup form will check to see if the username or email address that the user is inputting already exists in the database and will throw an error if it does. The login form is very similar to the signup form, just with fewer input fields. The login form also has a link to send an email to reset the user's password if they click it. The user must enter an email address and then the reset email will be sent. Finally, there is a lot of conditional rendering here to display various messages such as error messages or email sent messages.
And that's it! You should now be able to create a user database and authenticate users in Firebase. This code should be adaptable to any app you are trying to build. Be sure to check your endpoints when you are testing this app. A next step would be to create your routes such that the user is directed to the signup, dashboard or login pages based on whether they are already authenticated.
Time to celebrate another completed project! 🎉🎉🎉
Please comment below 👇 or send me a message 📨 if you liked this post. You can also connect with me on LinkedIn .
Also, don't forget to Subscribe to this blog to receive future updates!
Happy Coding!
Kari
Sign in with Google to add a comment
Comments