

to this blog to receive future updates!
Hello, Happy Coders!
Handling images in a web application can be tricky, particularly if you have a lot of them and need them to load quickly. Firebase Cloud Storage can be a solution to this problem by storing as many images as you want and providing a URL to access them easily. Today I'm going to show you a simple and straight-forward way to set this up.
Let's get started.
The first step is to create a new project in Firebase.
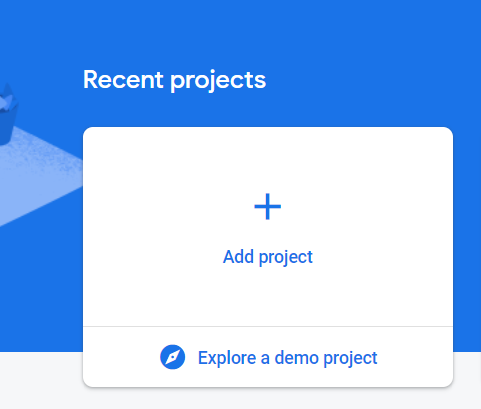
Go to the Firebase Console and click Add Project.
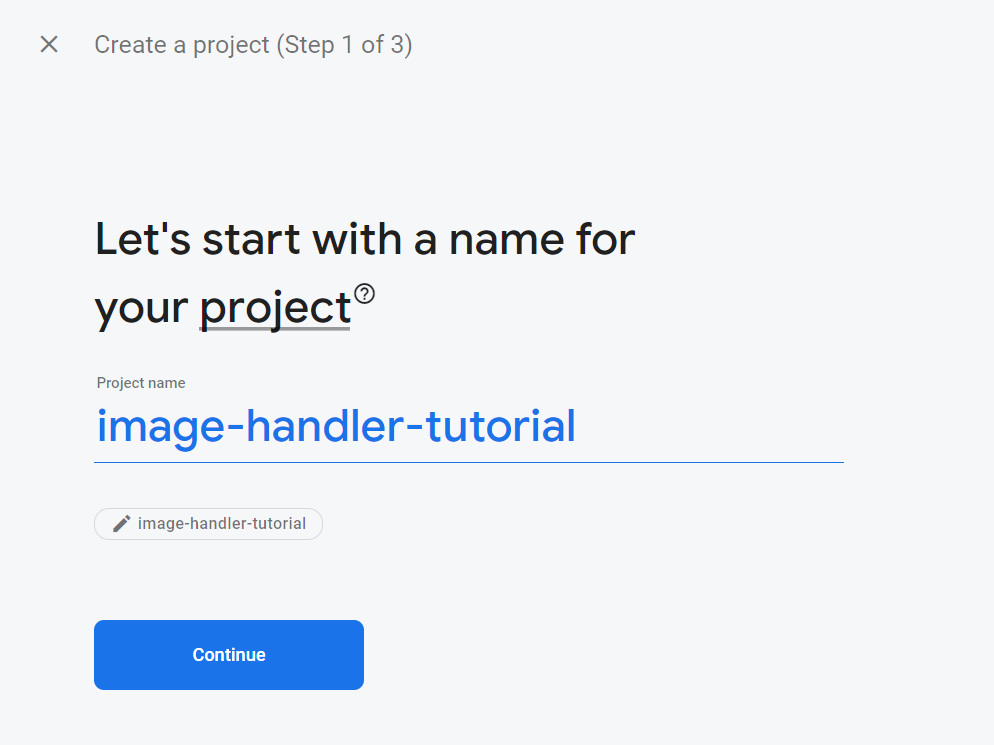
On the next screen, give your project a name. It can be anything you want.
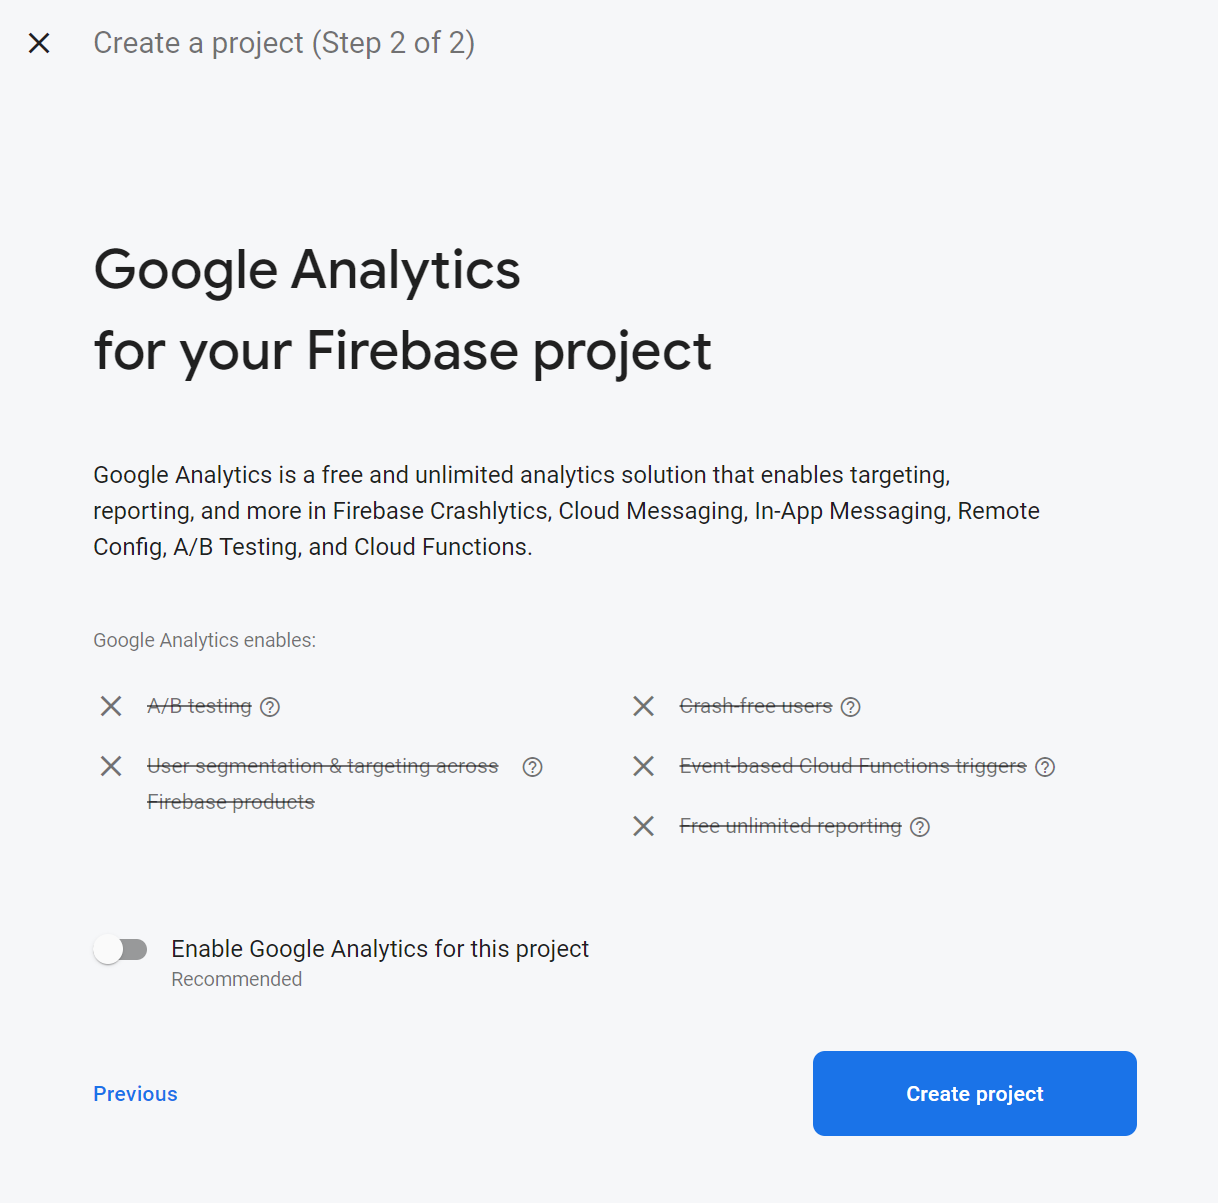
On the next screen, you can choose whether or not to enable Google Analytics and then click Create Project.
It will take a few moments to create the project. Once it's created, click Continue.
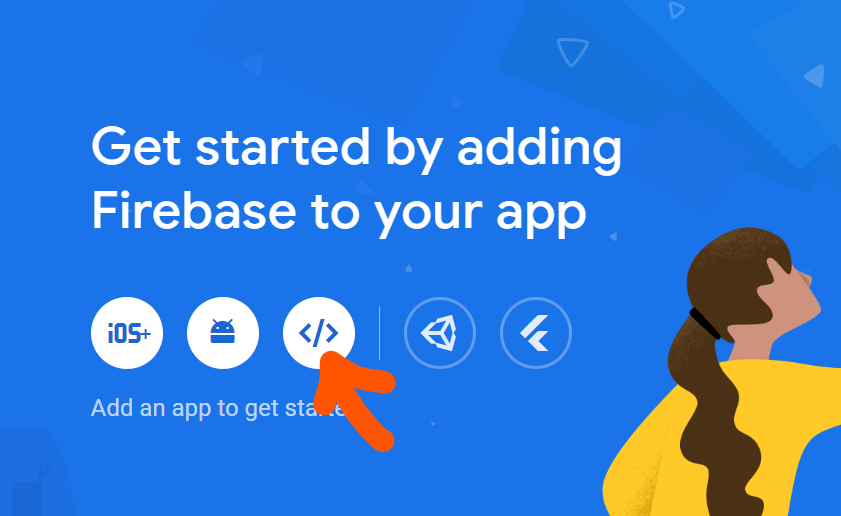
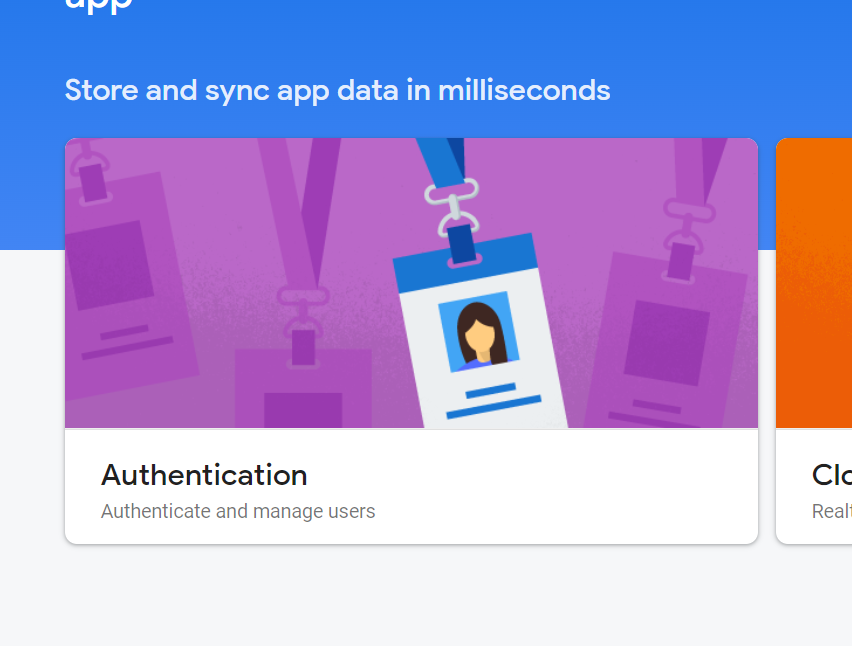
From the dashboard, we need to add a web application by clicking on the web icon.
On the next screen, give your app a name of your choice and then click Register app.
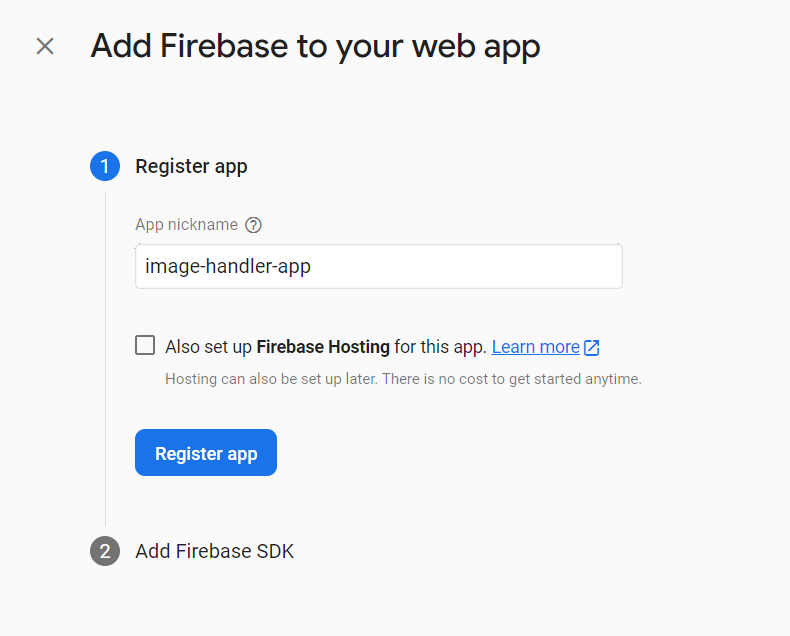
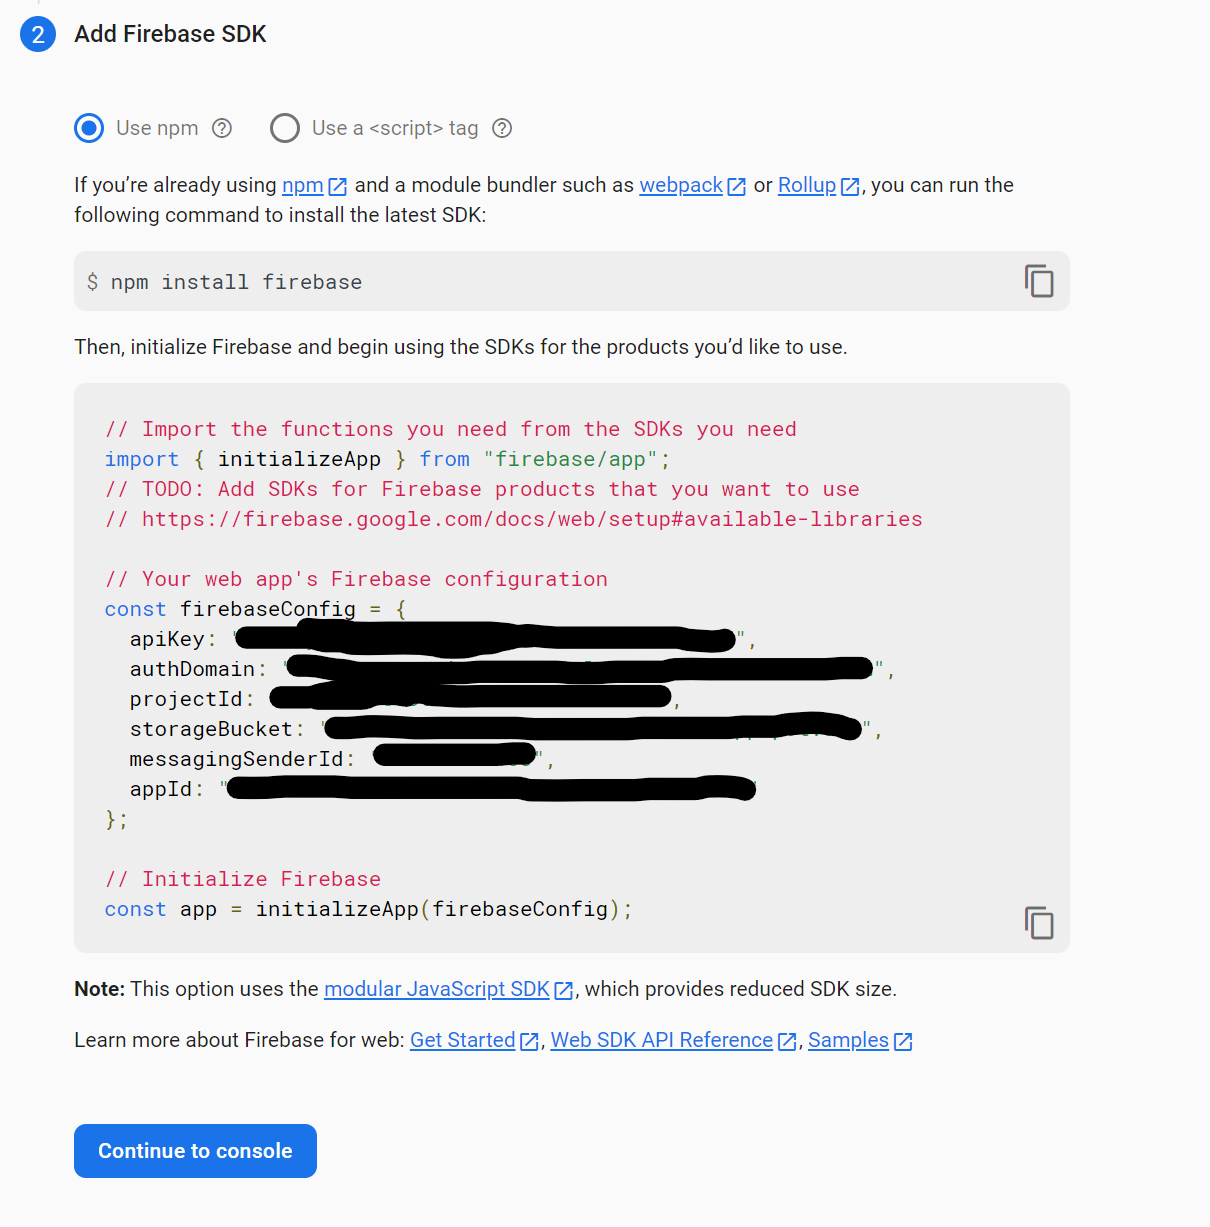
You will then see a screen that looks similar to the screen below.
Leave the screen as is for now. We will come back to it shortly. Time to create a react app.
Open a command prompt or PowerShell and navigate to the folder where you want to create your project. Then type npx create-react-app image-handler-tutorial at the prompt.
After the project is finished initializing, cd into the newly created folder and launch VSCode by typing code . including the '.' at the end.
If you need to install VSCode, go here.
First things first, we need to install some dependencies. Open a new terminal and type the following, pressing enter after each command.
npm install react-router-domnpm install tailwindcssnpm install firebaseThe react-router-dom package will be used to create our routes, the tailwindcss package will be used for styling, and the firebase package will be used to connect to our backend.
Configuring TailwindCSS takes a couple more steps. Refer to this page for further information.
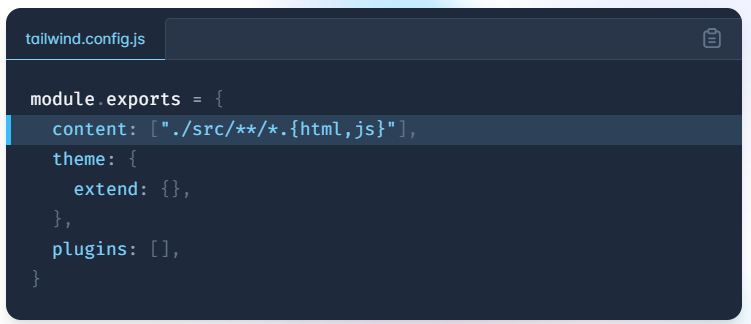
In the terminal, enter the command npx tailwindcss init
This will create a tailwind.config.js file. Open this file and add the following code.
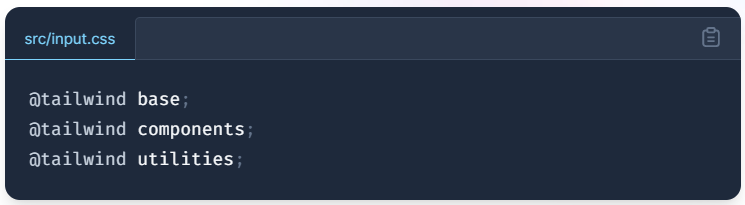
You will also need to go into the index.css file and add the following code.
Of course, if you do not wish to use TailwindCSS for styling, you can skip those steps and style your components however you would like.
Ok, it's finally time to start writing some code. The first step is to create a new file in the src folder in your app. Call the file firebase-config.js and add the following code to it. Note that we are pulling functions from 'firebase/auth' and 'firebase/storage'. These will be for user authentication and accessing cloud storage, respectively.
You will get the values for the firebaseConfig object from the Firebase SDK screen on the firebase console - the screen we paused on above. After you copy and paste these values you can click Continue to console.
If you ever need to access these variables again, you can find them in the project settings.
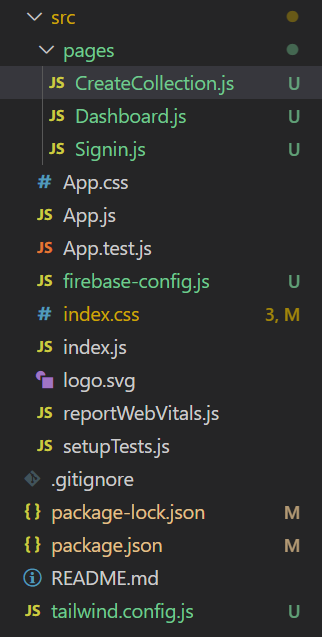
Next, in the src folder, add a new folder called pages and create the following files.
Dashboard.js
Signin.js
CreateCollection.js
You're completed filetree for your src folder should look something like this.
Ok, before we get any further ahead of ourselves, let's go back to the firebase console and set up our database and our authentication.
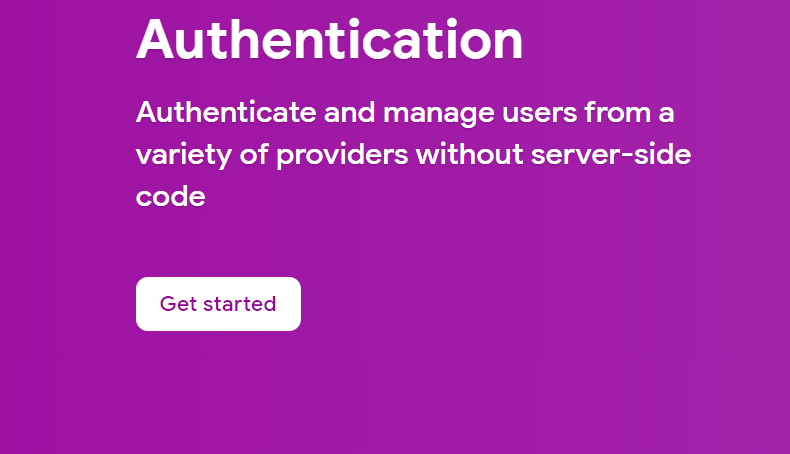
Start by clicking on Authentication from the dashboard of your project.
From the next screen, click on Get Started.
On the next screen, you will see the various options for creating user authentication.
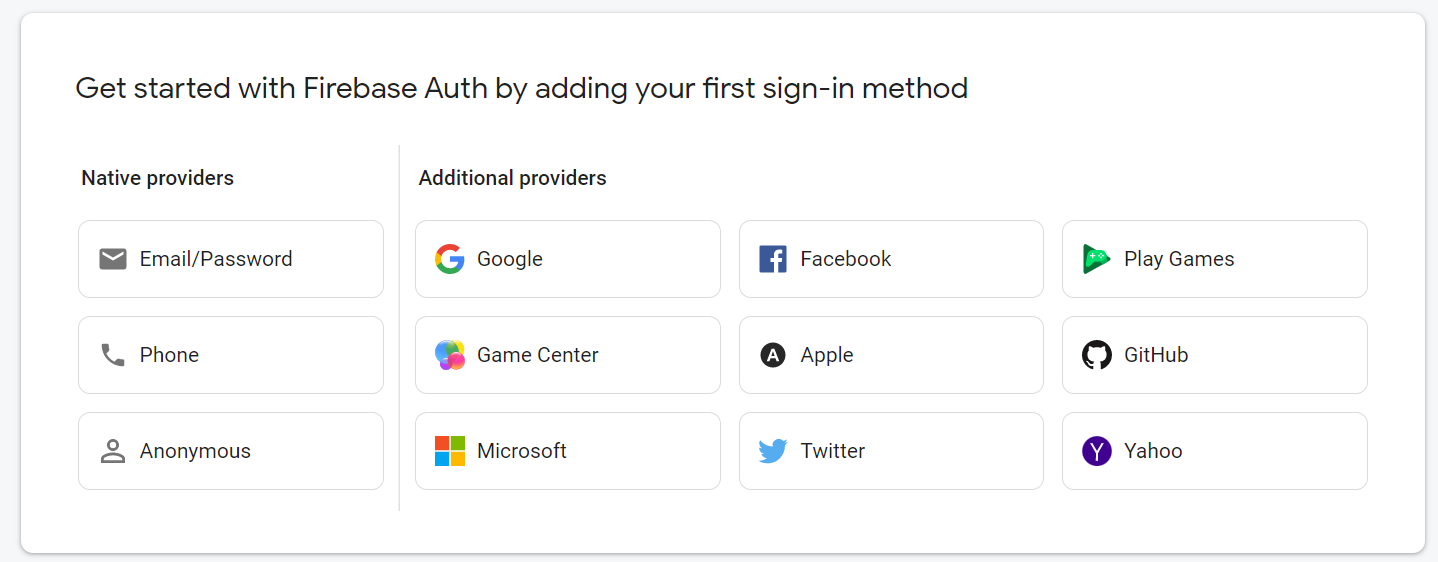
We will be using the Google provider for our authentication in this app.
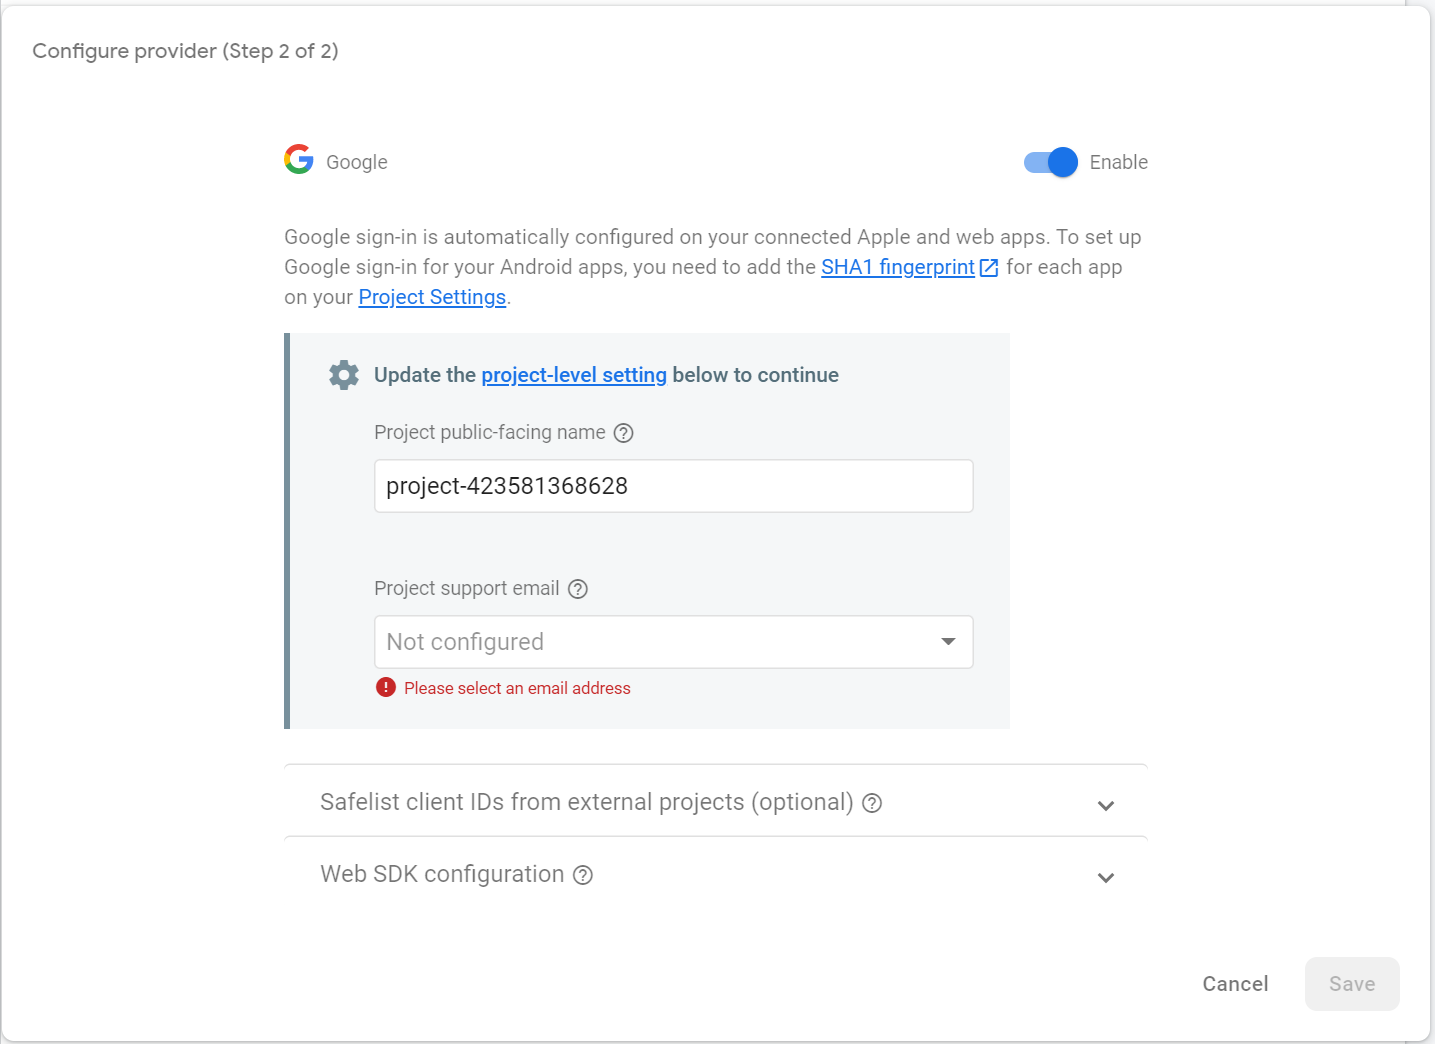
Start by selecting the Google Provider option.
On the next screen, click the slidebar to enable Google authentication. You will need to provide a support email address and then you can click Save.
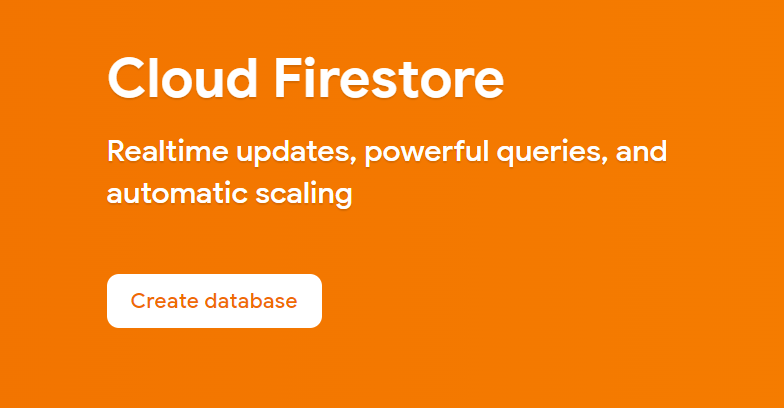
Ok, now we're ready to create a database to hold all of our image collections. Click on Firestore Database from the menu tree on the left, under the Build menu, and then click Create Database.
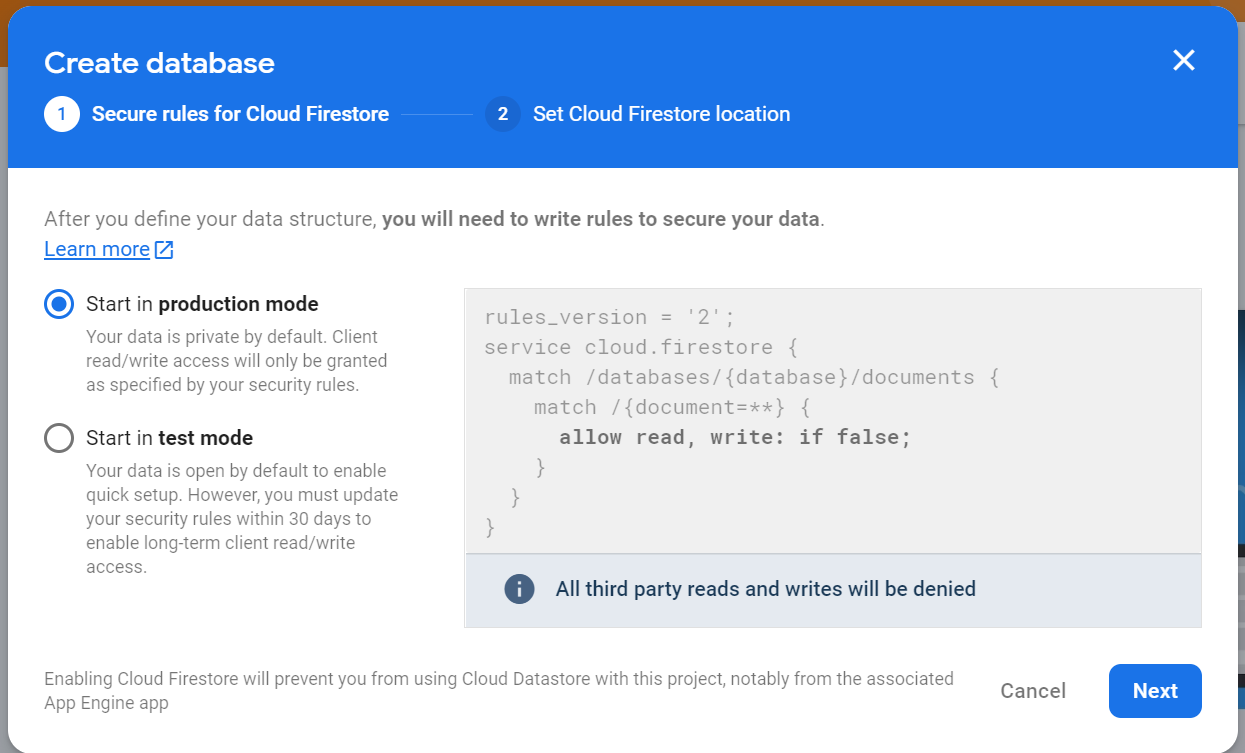
Choose Start in Production Mode and click Next.
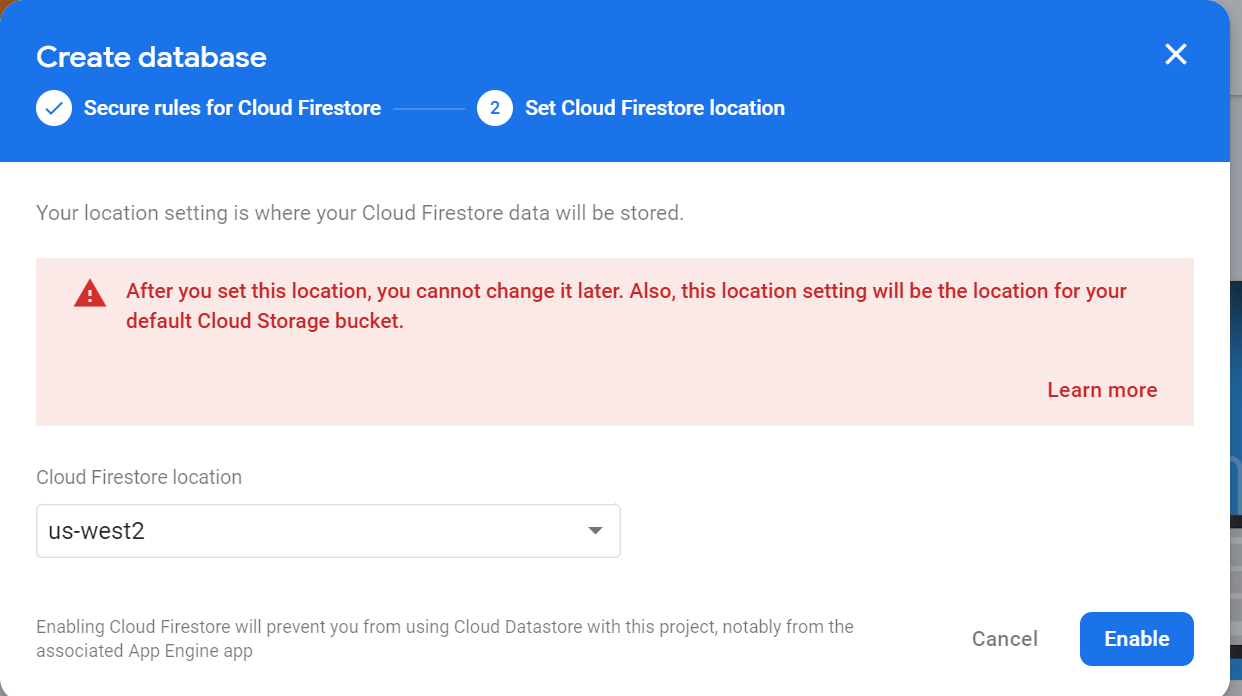
Then select your location and click Enable.
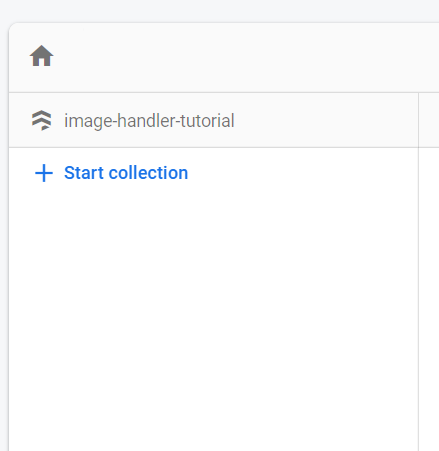
Once your database has been provisioned, select Start Collection from the main database screen.
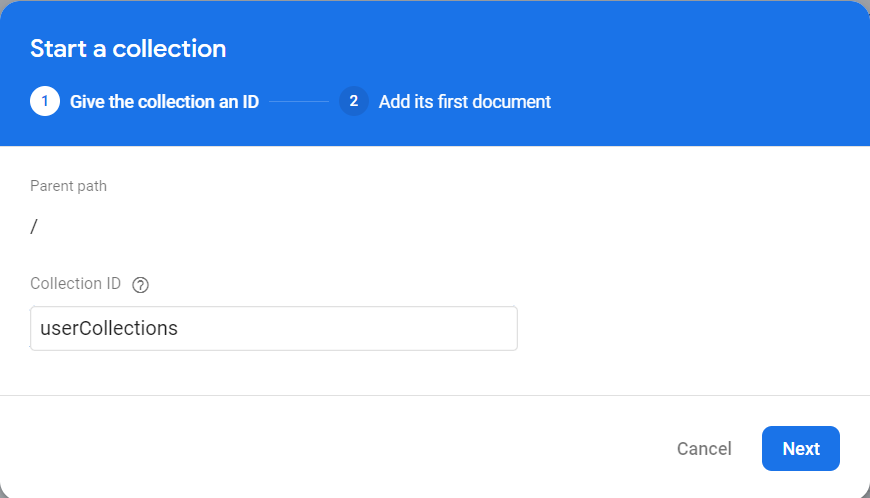
Add the name of the collection which will be 'userCollections' and click Next.
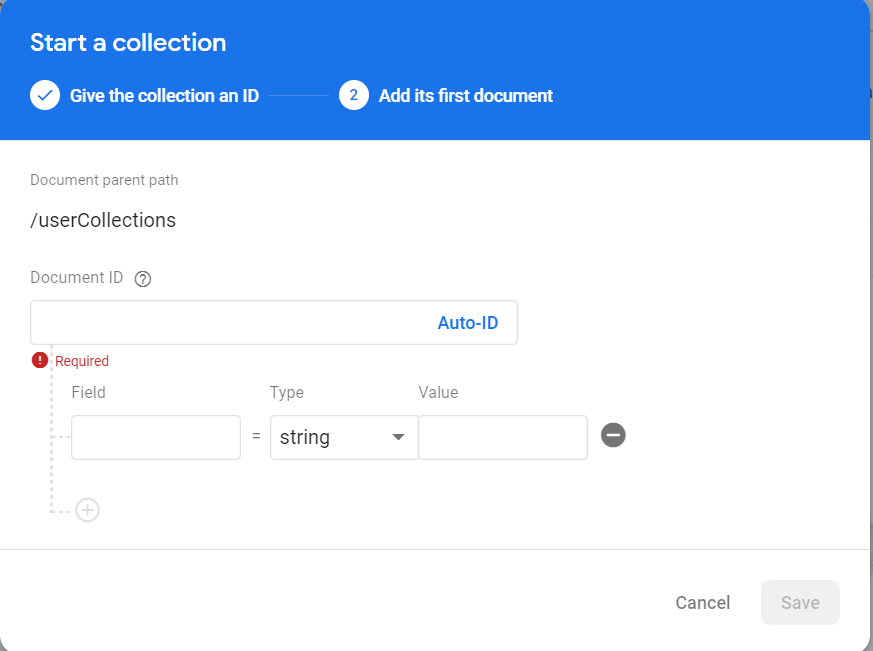
On the next screen, click the button for Auto Id to enable the Save button and then click Save. You should now have a 'userCollections' collection with an empty document in it.
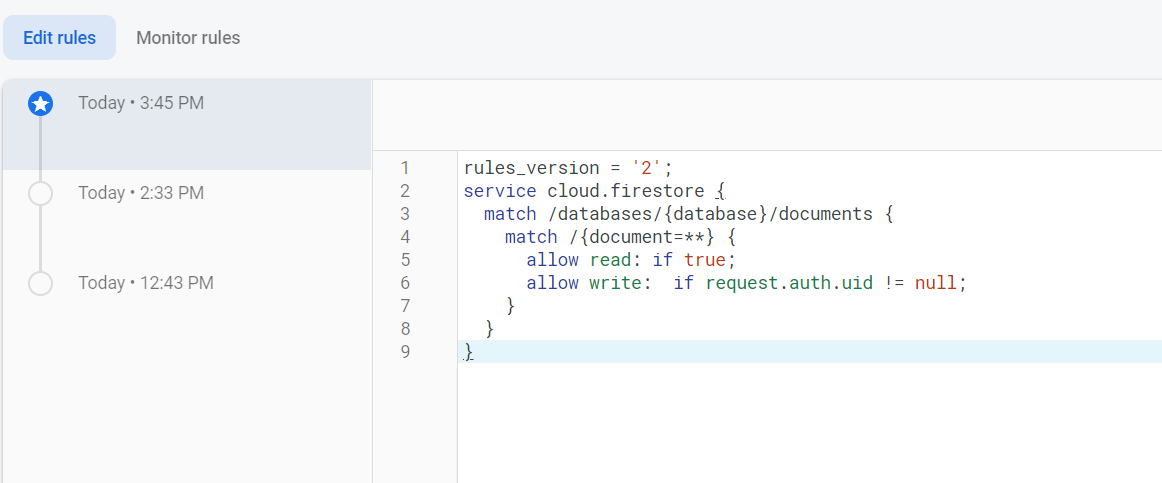
Next we need to edit the rules for our database and for our cloud storage. For the database, click on the Rules tab in the upper left of the screen and then change the read,write rule from false to what is shown below. Be sure to click Publish when you are done.
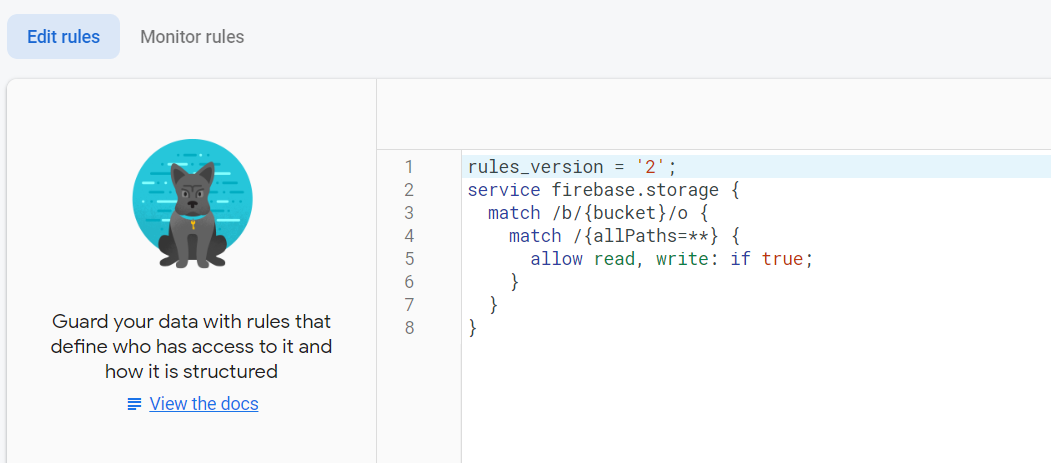
Now go to the cloud storage by clicking on Storage under the Build menu on the left. You will find a Rules tab here also in the upper left. This time you will just change the read,write rules from false to true as shown below. Don't forget to Publish the rules when you are done.
Ok, we are finally ready to add the code to our app.
To begin, we will set up our routes in the App.js file to establish the routes for all of our internal web pages. Here is the code for that.
The next thing we will do is build the Sign In page. The first step for that is to add the styling for our Sign In with Google button to the index.css file. Copy and paste the following code.
Next, we can create our Signin.jspage. The code for that is below. Note that it will be a simple line of text and a button that will show a pop up to sign in with Google. The functionality for the button comes from Firebase functions. Also, note that we will be setting a variable called 'isAuth' in localStorage. We will use that to determine if the user has already logged in previously.
Next we will create the CreateCollection.jspage. You will see that there is quite a bit going on in this file.
First of all, if the user tries to go to this page without the 'isAuth' variable set to true in localStorage, they will be navigated to the Sign In page.
Also, the user must enter a title, a description, and at least one image - all of which are stored in state - in order to be able to submit their collection. The steps to create a collection are listed, and there is some conditional formatting to add additional instructions once the user starts adding images.
When the user clicks the button to Upload an image, the image goes into Cloud Storage and the URL associated with it is pushed to the imageArray. The image also displays on the screen.
Finally, when the user clicks Create Collection, the entire collection including the Title, Description, and Image Array are sent to our Firebase Database. The advantage of doing it this way as opposed to storing the images directly in our Firebase Database is that our Firebase Database doesn't get bogged down with a bunch of memory-hogging images. All that goes into the database is a URL that references the image which leads to more efficient storage and retrieval.
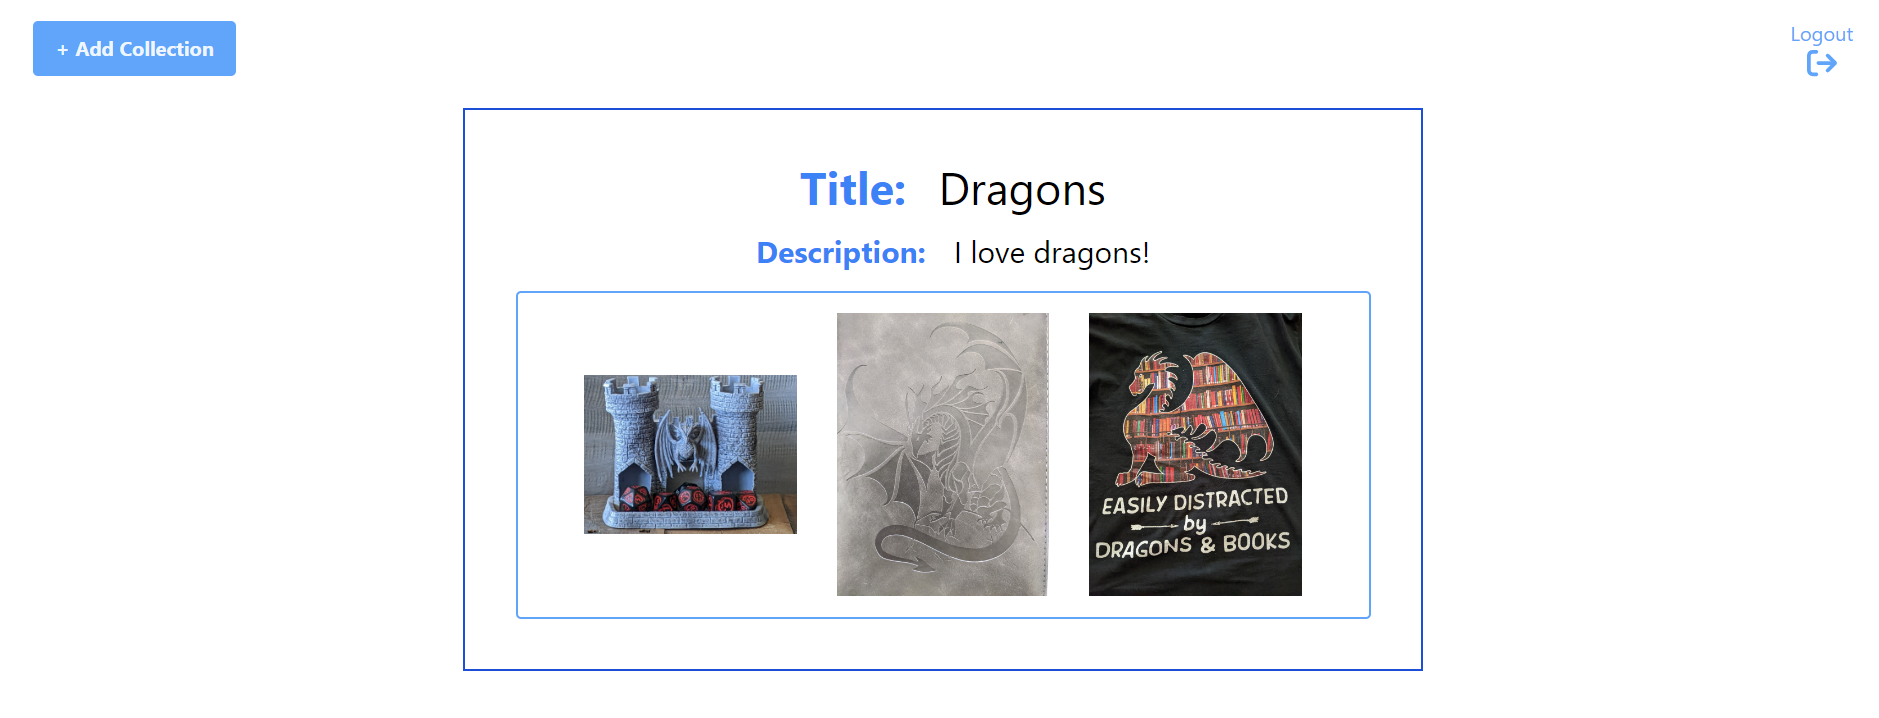
Last but not least, we will create the Dashboard with a button to add an image collection if the user is authorized as well as buttons to go to the Signin page or logout if the user is already signed in. The Dashboard will also display any existing collections once the user has logged in.
Comments
This project is now complete but is obviously oversimplified. For example, if a user adds a lot of images to a collection, say more than about ten or so, some additional styling will be needed to ensure the screen doesn't look overly cluttered. A next step for this project could be to limit the number of images that are displayed on the main screen and add a link to view all remaining images. There are also other pieces of information that could be displayed such as the username of the person who posted the collection or maybe even the ability to add comments to a collection. There are a lot of different directions you could go using this code as a starting point. The possibiliities are endless!
Time to celebrate another completed project! 🎉🎉🎉
Please comment below 👇 or send me a message 📨 if you liked this post. You can also connect with me on LinkedIn .
Also, don't forget to Subscribe to this blog to receive future updates!
Happy Coding!
Kari
Sign in with Google to add a comment
Comments